How to make 3D baby breath paper flowers, so simple and realistic
How to make a Baby breath paper flower?
Baby’s breath is a versatile flower that can be used in a variety of ways. It is often used as a filler flower in bouquets, but it can also be used to create its own arrangements. Baby’s breath is also a popular choice for wedding flowers, as it is delicate and romantic.
Here are some ideas for how to use paper baby’s breath flowers:
- In bouquets: Baby’s breath is a classic filler flower that adds softness and volume to bouquets. It can be used to fill in between larger flowers, or it can be used to create a halo effect around a single flower.
- In arrangements: Baby’s breath can also be used to create its own arrangements. It can be arranged in a vase, or it can be used to create a wreath or garland.
- In wedding flowers: Baby’s breath is a popular choice for wedding flowers. It can be used in the bouquet, the boutonniere, and the centerpieces.
- In other decorations: Baby’s breath can also be used in other decorations, such as tablescapes, party favors, and gift wrapping.
I believe I was the first person to create this paper baby’s breath technique, as my tutorial was published in May 2017. Since then, I have seen many similar tutorials appear.
I still remember the day I finished lunch and started playing with a tissue. I wondered if it would be possible to make mini paper flowers from such a soft and textured material. I thought about it for weeks, and eventually I had an idea: facial tissue would be perfect for making paper baby’s breath flowers! A year later, I had created paper apple flowers, paper cherry blossoms, and paper cosmos flowers, all from facial tissue.
I believe that this process is essential for creating realistic and beautiful paper flowers. By observing real flowers, I am able to capture their natural beauty. By asking questions and experimenting, I am able to find new and innovative ways to create paper flowers.
How do you make baby breath flowers with paper?
Contents
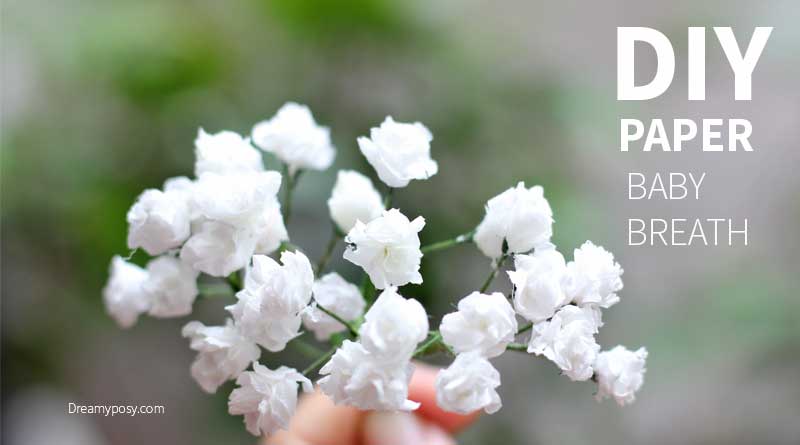
I’m sharing a simple tutorial on how to make your own baby’s breath from a single piece of facial tissue paper. It’s so easy and realistic, you’ll be amazed at how well it looks! Just follow my video tutorial and written instructions below.
Video tutorial on how to make paper baby’s breath:
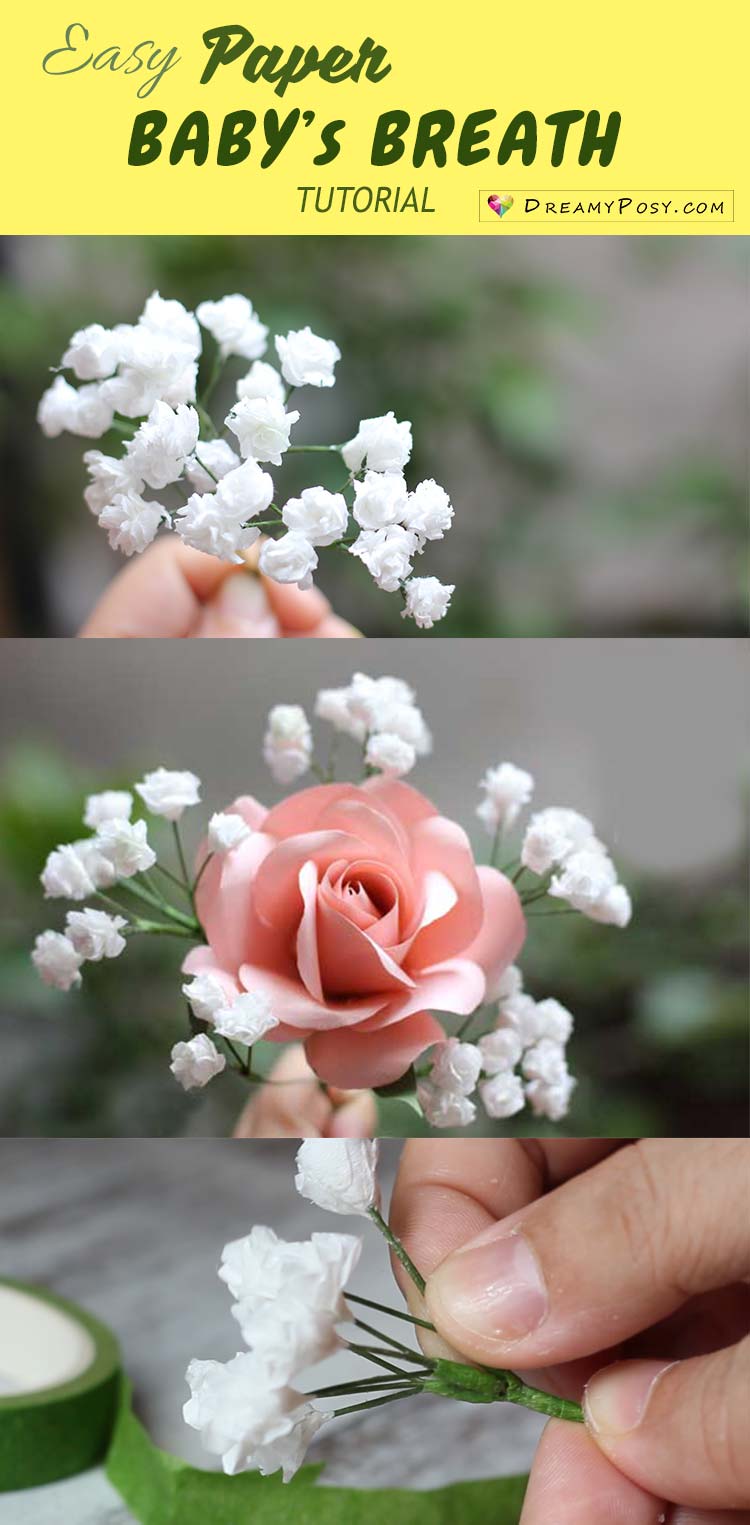
Step by step to make paper Baby Breath (Gypsophila) flowers:
- Roll a tissue sheet into a small pipe.
- Cut the pipe into 0.5 cm sections, each with a round end.
- Use white glue to wrap the rolling paper around a wire, like making a tiny rolled rose. Make sure to add ruffles as you roll the tiny paper flowers.
- Color the bottom of each flower with green paint (watercolor or acrylic).
- Arrange the flowers and wrap them with floral tape to make a small branch.
This paper is perfect to combine with many other paper flowers like paper roses, paper camellia
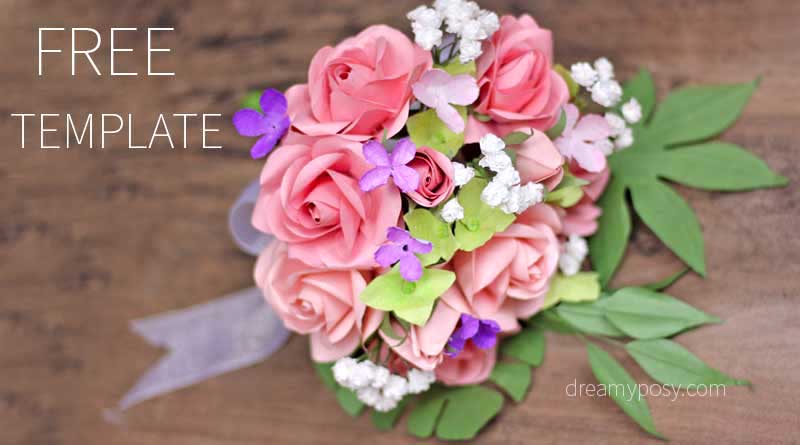
These Baby Breath paper flowers are gorgeous even if they stand alone in the vase. But you might want to consider combining it with other flowers. Here you could learn how to make a paper rose easy step-by-step video or easy Paper Carnation.
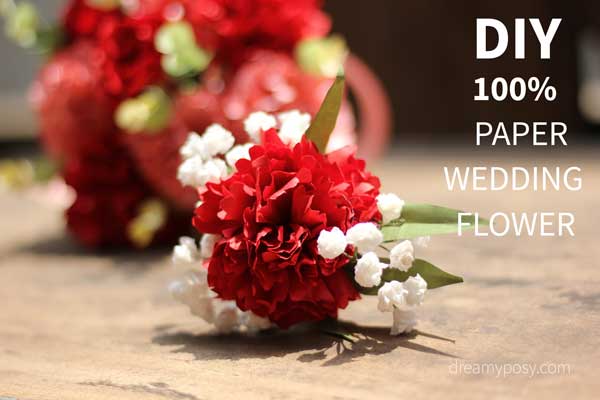
And your bridal paper bouquet will be much more beautiful with these little flowers
What you will need to make paper baby’s breath:
- Tissue paper
- Wire gauge 24, green color
- A small paint brush
- Some green watercolor
- Floral tape
- White glue
- Scissor
My process for creating paper flowers is one of observation, questioning, and experimentation. I start by observing real flowers, paying attention to their shape, form, and texture. I then ask myself questions about how I can recreate those qualities in paper. Once I have a few ideas, I experiment with different techniques until I find one that works.
Hope that you will find some inspirations on your own creations.
Lots of love,
Ann
 o
o 
Your tutorial takes to long to come up. (very frustrating). Also when showing the folding technique, you should do it much slower and show the whole folding technique. It skips just a little bit, leaving me to try 2 different ways on my own. Please don’t race through your videos. You may know how to do it, but people don’t look at videos unless they want to learn something.
Thanks Barb, for your feedback. We will try our best to make better tutorial
I have an order ready, can’t figure out how to charge to master card.
will not use pay pal. Please help.
Thank You for the free templates can’t wait to make one.
Thank yo Deborah.
Is there anything else that can substitute the wire guage
I would find some tiny wire inside the electric wire, Cheryl 🙂
The video is right on the top of this post, dear. Pls just wait a little to load the video. Thank you so much.
Or you could find it here: https://www.youtube.com/watch?v=xWjmbaB5Gg4&t=8s
Thank you.
I cannot find the baby breaths template as well as other flowers template, can you please tell me where to find them?
Hi Brenda. Thank you for stopping by. Baby breath doesn’t need a template, dear. The other flowers’ templates are always at the last items in the material list. Please check it out.
Love the way you made it. So awesome. Thanks for sharing such awesome baby breath DIY tutorial.
Thank you, Joanna
hello can you show how the baby breathe is made in visual form.
Hi Laurie, I don’t catch your question. Please have a look on the video, all the images and clips are my real made works 🙂
I give this up as a bad job, tried this several times and every time all I end up with is a long thin tube, do NOT get any thing like the flower heads or rose shape you get, be cheaper to buy the fake Gypsophila instead
Ok, Gaz. I will try to make a new tutorial to show how different are the fail and success techniques. Stay tune.
These are so beautiful! Just lovely. Thank you for sharing.
Thank you so much, Jane
I love, love every paper flower you make, and the instructions are so easy to flower. since I don’t have
the die cuts, punches and machines, your tutorials help me create. thank you so much. keep em’ coming lol
Oh thank you, Marilyn. I don’t have the die cut, punches or Cricut, either. Those are luxury items where I live, it’s hard to buy, so I just use simple paper and scissors. I’m happy that you love this.