How to make paper apple blossom from facial tissue, FREE template
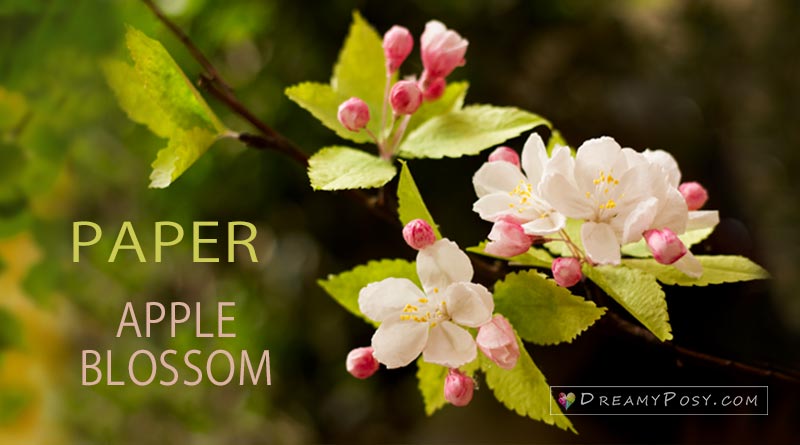
Hope that this paper apple blossom tutorial will warm you up through this heavy snow winter and light up the spring around your house. As usual, free template and step by step video and pictures are included.
>>>> PIN ME<<<<
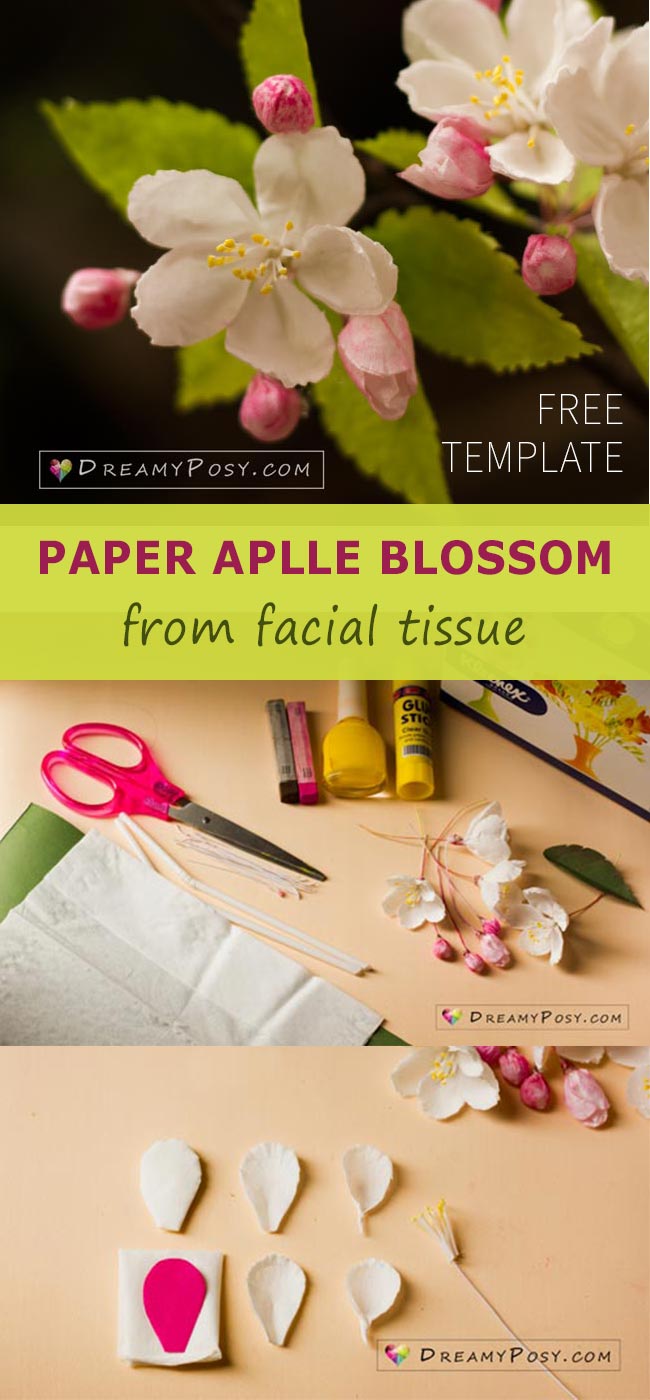
Video tutorial to make paper apple blossom:
Contents
- 1 Video tutorial to make paper apple blossom:
- 2 Step by step instruction to make paper apple blossom:
- 2.0.1 Step 1: Grab the simple materials around you, facial tissue and drinking straw, scissors
- 2.0.2 Step 2: Make the stamens from the drinking straws
- 2.0.3 Step 3: Get the facial tissue and cut the petals from my free template.
- 2.0.4 Step 4: Glue 5 petals with the stamen for each flower.
- 2.0.5 Step 5: Make the bigger apple blossom buds
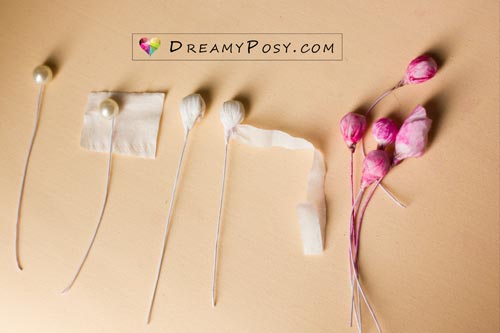
- 2.0.6 Step 6: Make small apple buds with the same technique above
- 2.0.7 Step 7: Wrap the flowers and buds together with brown floral tape.
- 3 Materials needed to make:
Step by step instruction to make paper apple blossom:
Step 1: Grab the simple materials around you, facial tissue and drinking straw, scissors
You could use your make-up pink powder and eyebrow powder instead of pastel chalk
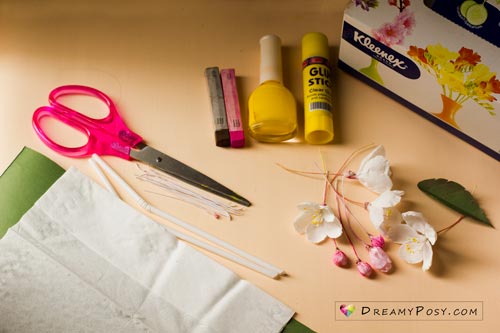
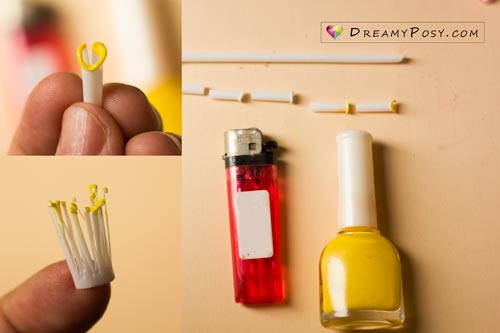
Step 2: Make the stamens from the drinking straws
Cut the drinking straws into 1.5 cm sections.
Use the lighter to burn one head of the section and color that head with yellow paint.
I use a nail polish but you could use acrylic paint or else.
After the paint dried, cut the sections into an eyelash shape.
Glue the eyelash to a white floral wire gauge 28
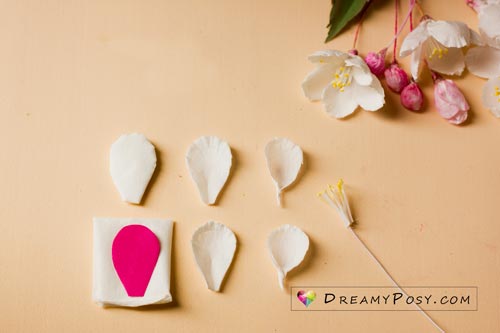
Step 3: Get the facial tissue and cut the petals from my free template.
You can cut many layers at a time to save time, then separate them later.
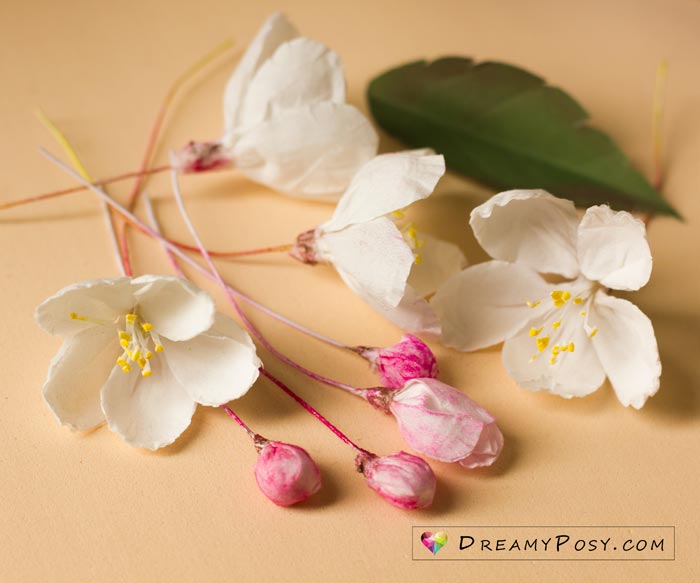
Use your finger to form the petals as below picture.
Step 4: Glue 5 petals with the stamen for each flower.
Wrap the bottom of the flower with a little strip of facial tissue by glue stick.
Color the bottom of apple flower with pink and brown powder that was ground from pastel chalk, with the help of a small brush.
Step 5: Make the bigger apple blossom buds
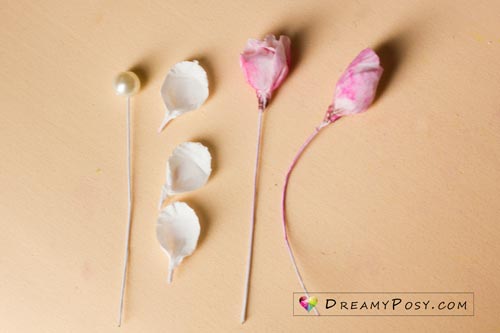
Glue a 4mm bead the floral wire gauge 28 and cover by 3 smaller apple petals.
Wrap the bud with a small facial tissue strip and glue stick.
Color it with color powder as above.
Step 6: Make small apple buds with the same technique above
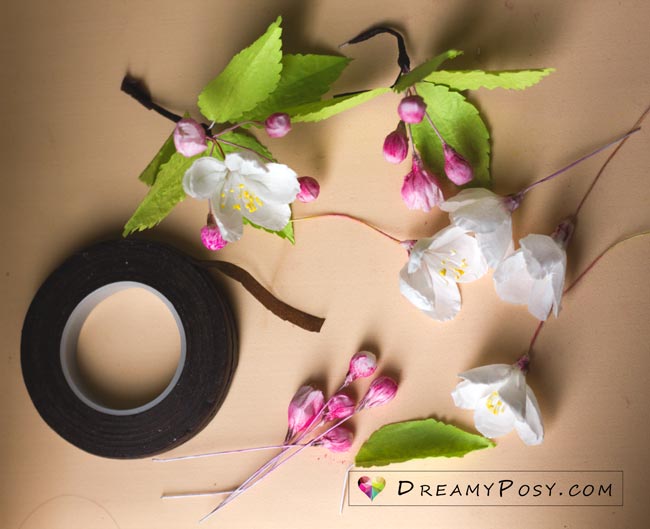
Step 7: Wrap the flowers and buds together with brown floral tape.
Use a dried branch to attach all these beauties with brown floral tape.
More apple buds with dark pink will help brighten up your branches.
Materials needed to make:
(affiliate links included)
- Tissue paper
- Pastel chalk
- Wire gauge 26
- Green color paper
- A small paint brush
- Floral tape
- Glue gun
- Glue stick
- Scissor
- DreamyPosy.com’s template.
More pictures
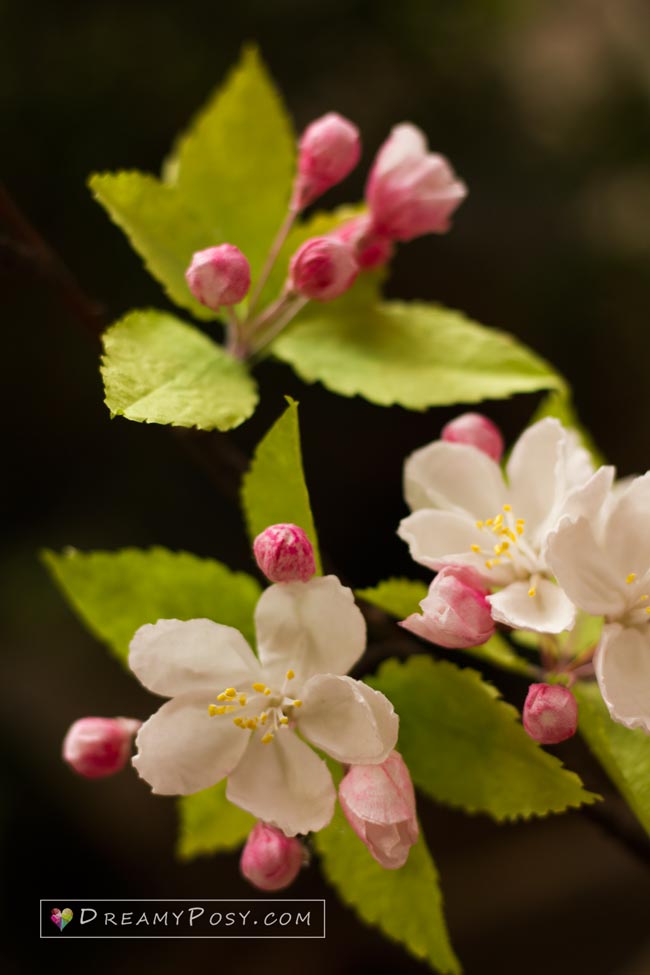
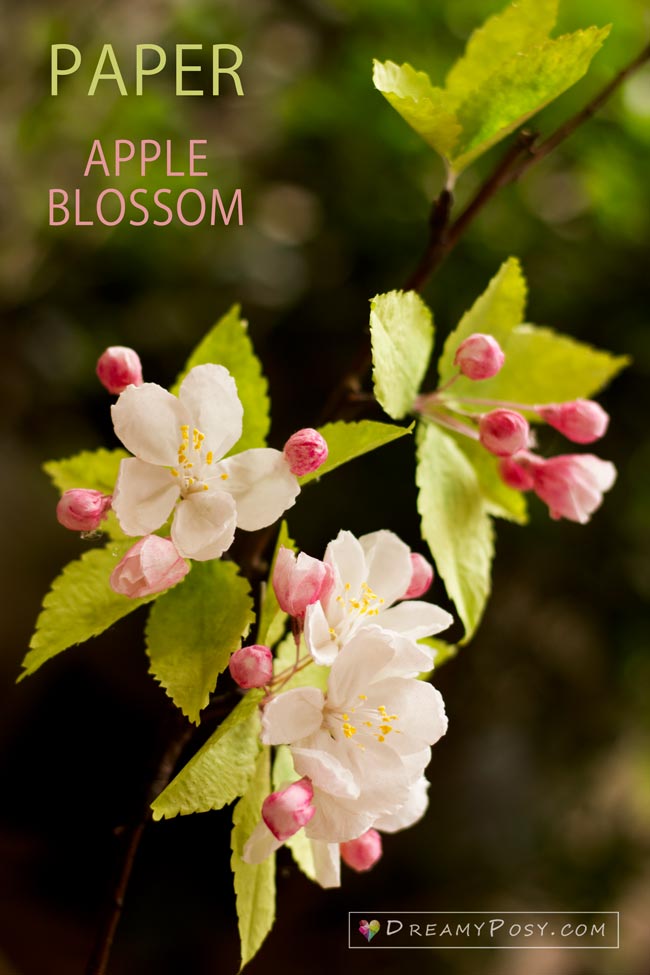
Well, what do you think? You can make so many beautiful crafts right from very simple materials around you.
Follow me to get many more craft ideas.
xoxo
I love these flowers so much. Thank you taking the time to write such a great tutorial. I can’t seem to find the template for the cherry blossoms. No doubt I’m missing it. Can you direct me please?
Hi Kathy, there’s no template for the cherry blossoms. I’ve just cut the round edges :). Thanks
I have tried several times, unable to download the template. I really love this pattern. Please help, thank you so much.
Hi Demetria,
The cherry blossom doesn’t have template, but this apple blossom template is item #10 of the material list in this post, dear. Thanks
Very pretty. Thank you for posting tutorial for cherry blossom . Can i have a tutorial or Cambodian orchid in satin ribbon. My email I’d. [email protected]
You’re welcome. Sorry that I have no experiences with satin ribbon, Avery.
Good bless you, give more and more creativity, thank you so much for your gifts, it’s terrific, very, very good
Thank you for leaving me such nice words, Leticia