How to make paper cherry blossom from facial tissue, so easy
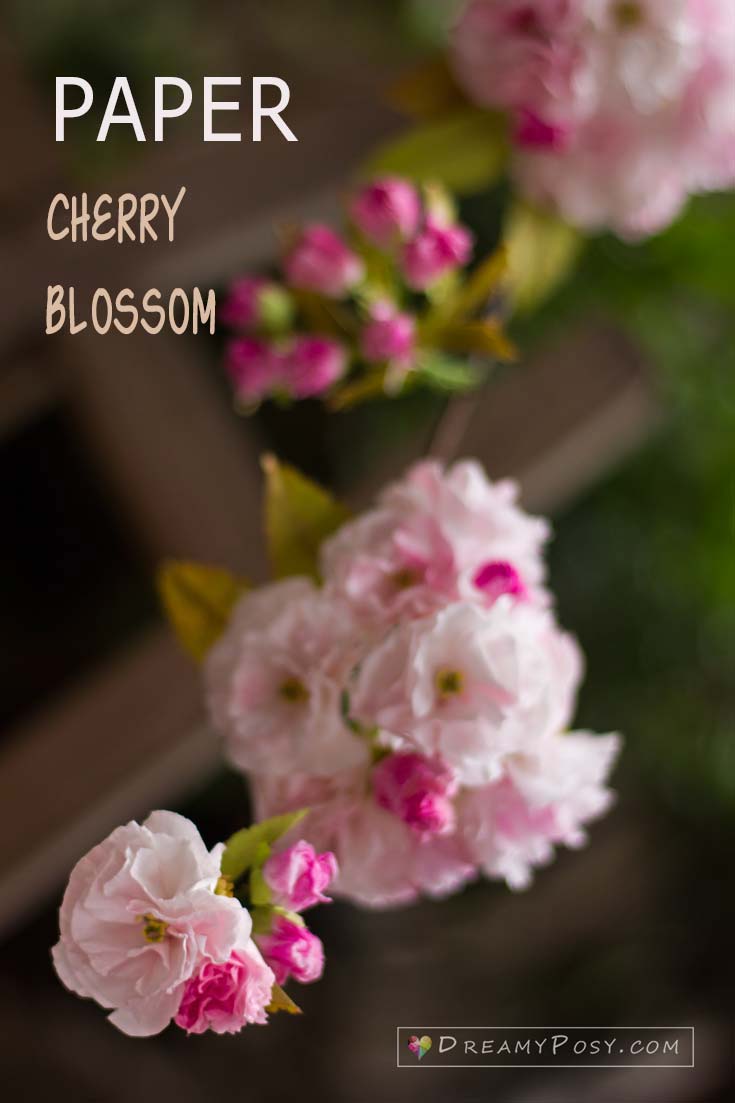
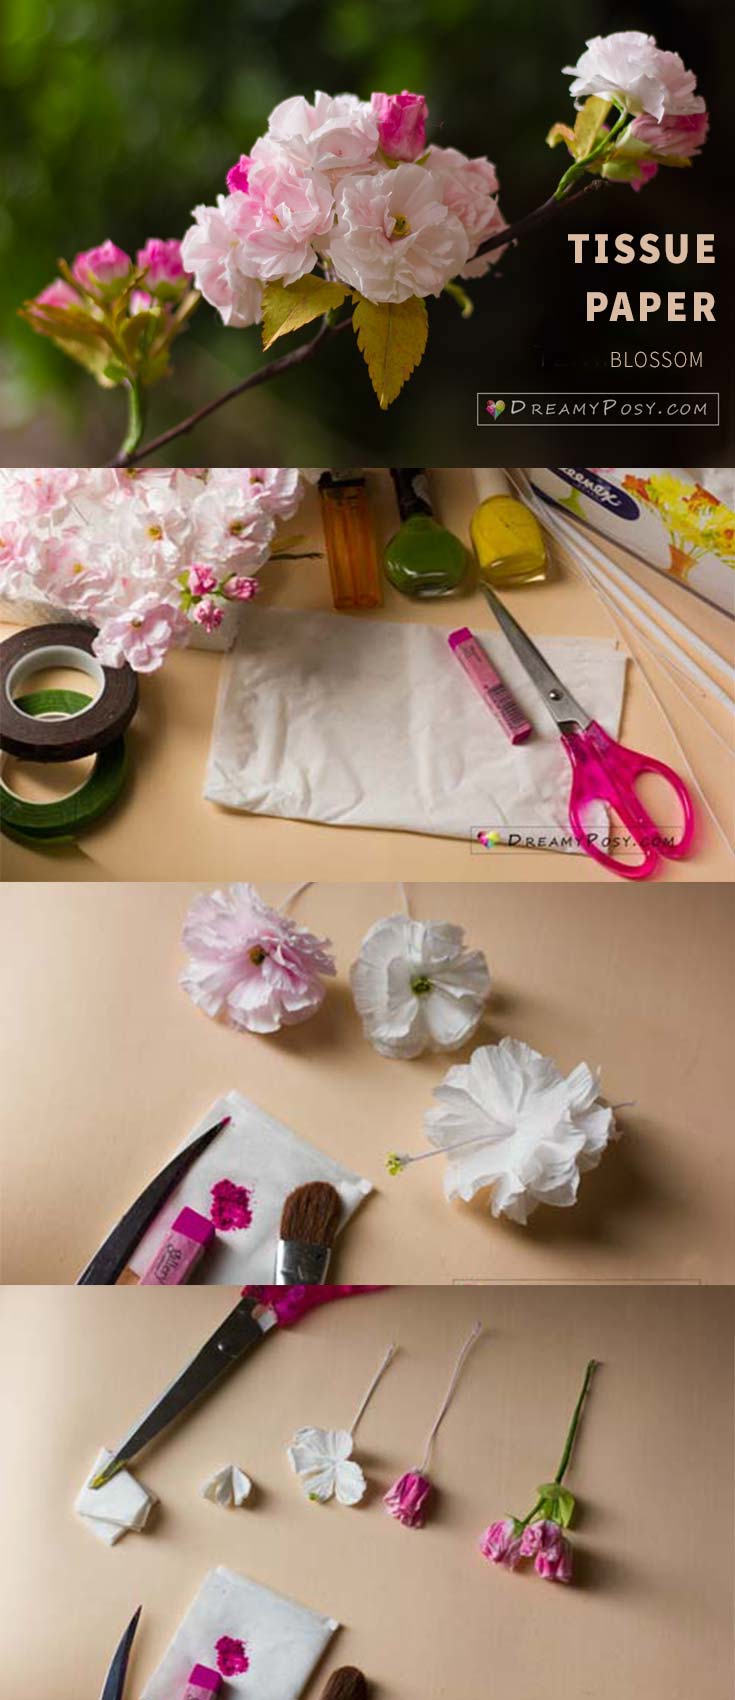
This paper cherry blossom tutorial is my effort to replica my dreamy flowers: Sakura.
I fall in love right at the first sight I saw these adorable Japanese cherry blossoms
The Japanese streets are full of all kinds of blossoms at this moment.
Wanna have some cherry blossom branches in your room? Let’s scroll down.
Video tutorial to make cherry blossom out of tissue paper :
Contents
- 0.1 Video tutorial to make cherry blossom out of tissue paper :
- 0.2 Step-by-step instructions to make paper cherry blossom:
- 0.2.1 Step 1: Go all around your house and get the simple household items
- 0.2.2 Step 2: Make the stamen
- 0.2.3 Step 3: Cut the cherry petals from tissue paper.
- 0.2.4 Step 4: Insert the layers of petals into the stamen.
- 0.2.5 Step 5: Make the cherry buds from beads and facial tissue.
- 0.2.6 Step 6: The cherry leaves are not lime green or green.
- 0.2.7 Step 7: Attach the buds and flowers to the branch
- 1 Materials needed to make:
Step-by-step instructions to make paper cherry blossom:
This post contains some affiliate links that we could get a small commission at no additional cost to you. Find out more here.
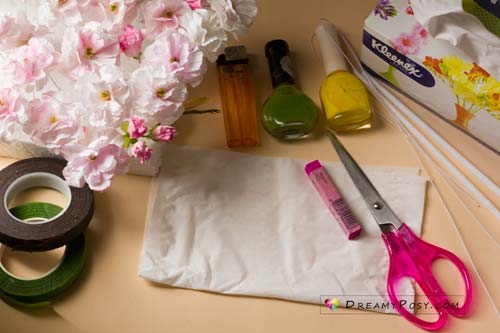
Step 1: Go all around your house and get the simple household items
Facial tissue (2 or 3 pliers)
Scissors
Pink colors (old cheek blush or panpastel, pastel chalk powder, Tint It spray paint…are all fine)
Yellow paper or White drinking straw + lighter+ acrylic paint/nail polish to make the center of the flower.
Step 2: Make the stamen
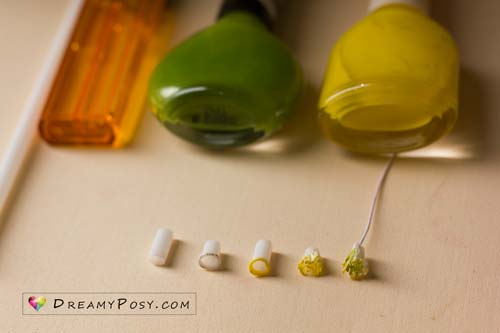
Just simply cut a 5mm stripe of yellow cardstock and cut it like a tiny eyelash and roll it to make the stamen.
Or follow my video, I cut the straw into 70mm sections. Use the lighter to burn one head of the section, just enough for it to have a little curve.
Yellow paint that curves and use the scissors to cut the section as a tiny eyelash.
Cut the wire gauge 26 into 7cm sections and glue them with those eyelashes to make the stamens.
Add a little lime-green paint in the center of the stamen.
Note: I’ve run out of green floral wire so I use the white one. But the real cherry flower stem is green.
Step 3: Cut the cherry petals from tissue paper.
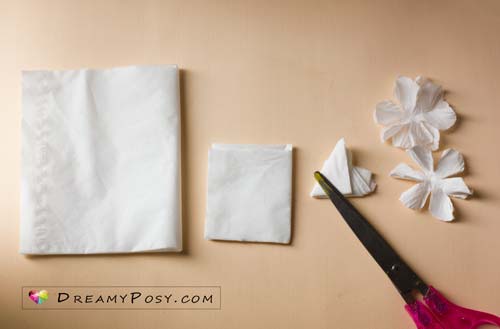
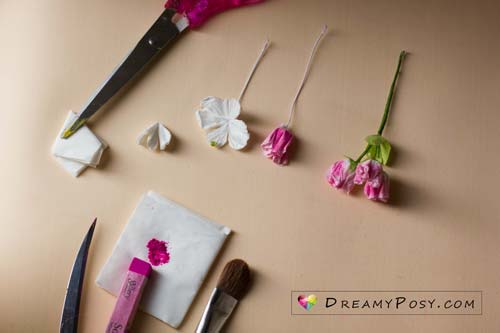
Cut the tissue paper into about 5cm squares. Fold the square 3 times and cut the 6-petal flower shape.
The diameter of the flower should be around 4.5cm only.
If it’s larger, the flower will not be stiff enough. If it’s smaller, it will take more time to have a branch.
Cut many layers at the same time, twist the petal to shape the ridges, and help you to separate the layers easier.
Step 4: Insert the layers of petals into the stamen.
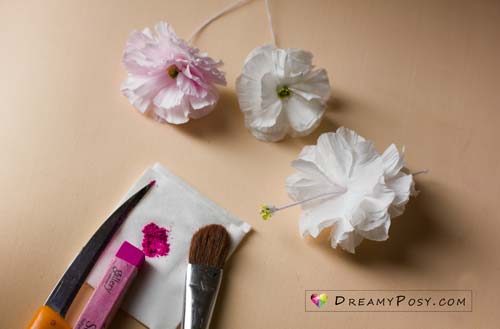
Use the glue gun to attach and gently press the petals to “hug” the stamen 🙂
Color the flower with ground pink pastel chalk, with the help of a small brush.
Step 5: Make the cherry buds from beads and facial tissue.
The paper blossom branch will be more beautiful with buds, a lot of buds.
Cut a small flower shape of about 2.5cm diameter, and cover the bead with a glue gun.
Gently twist the head of the bud to make it more realistic before coloring it with pink powder or spray paint.
Step 6: The cherry leaves are not lime green or green.
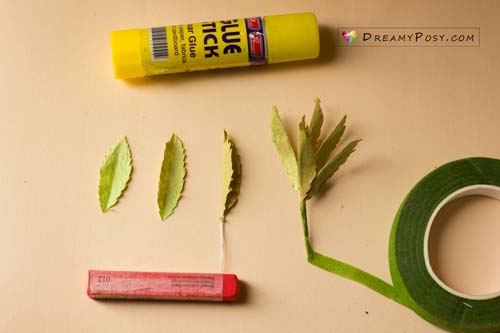
So I have to color the lime green paper with orange color before cutting and gluing with the floral wire.
Please watch my video tutorial for detailed techniques to make different sizes of leaves.
Step 7: Attach the buds and flowers to the branch
Wrap the buds and the flowers into small groups with green floral tape.
Then attach those groups to a dried branch with brown floral tape.
Try to make different tones of pink and white pink will help your branch so stunning.
>> PIN ME <<<
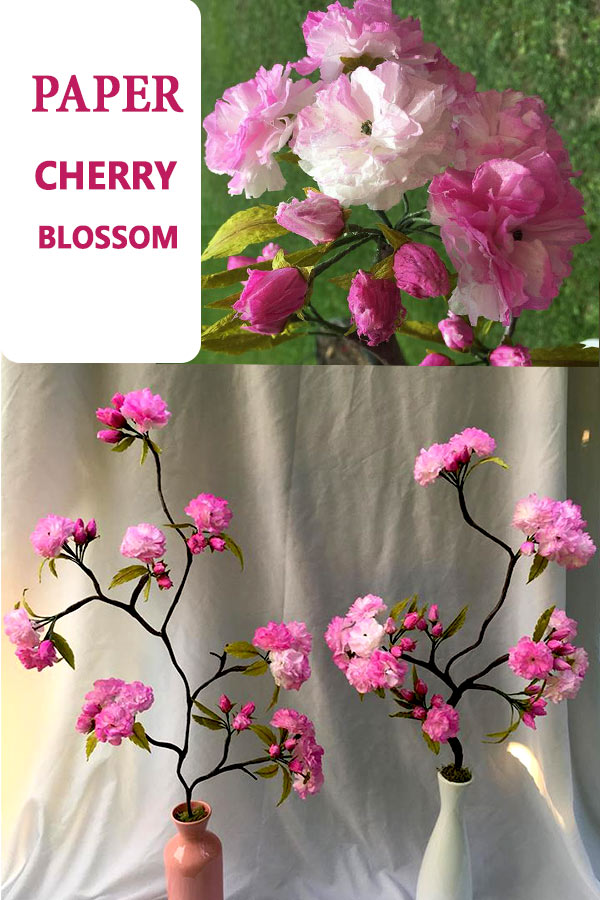
And below are the paper cherry blossoms made by Noelle LeBlanc Addlesberger. How dainty and delicate they are.
Instead of using pastel chalk like mine, she used Tint It spray paint and used a tear shaped wooden bead for the core of the bud.
It worked perfectly, her blossoms are much prettier than mine.
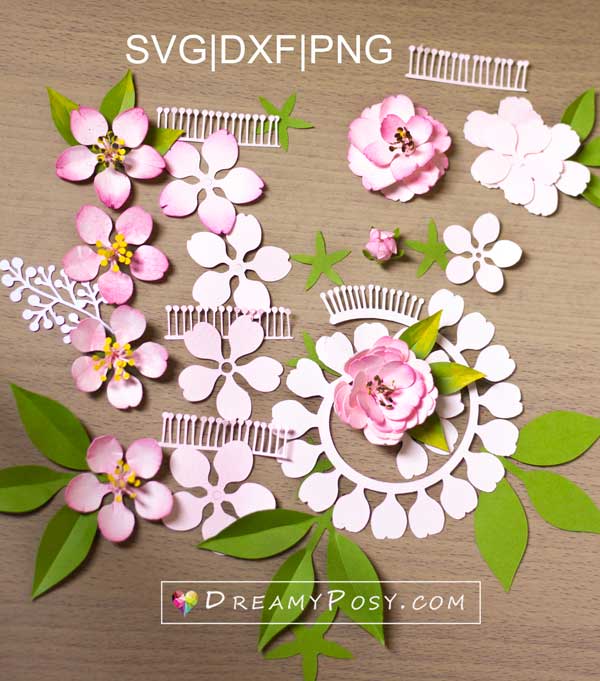
We also have new design for paper cherry blossom svg template (cutting by machine) here.
Materials needed to make:
- Tissue paper
- Pastel chalk
- Wire gauge 26
- Green color paper
- A small paintbrush
- Floral tape
- Glue gun
- Glue stickScissors
Tips to make successful paper flowers:
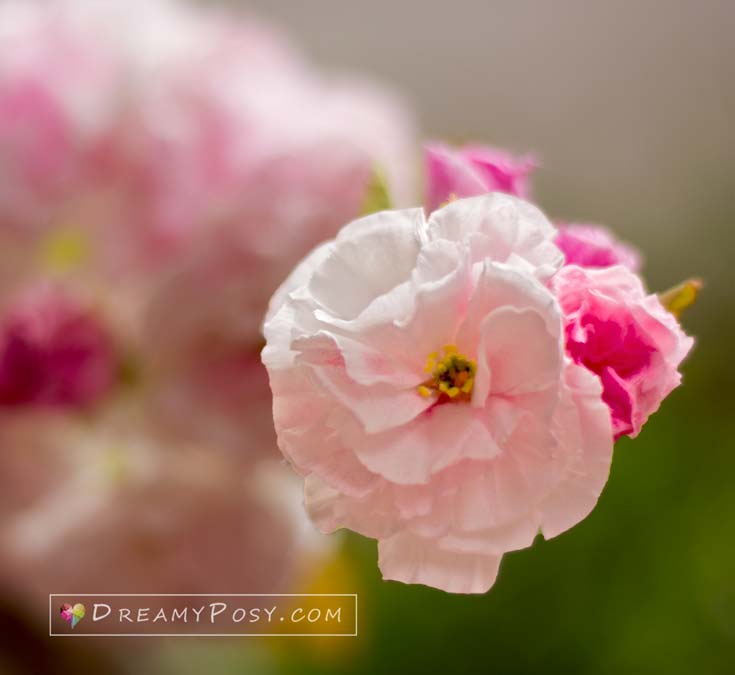
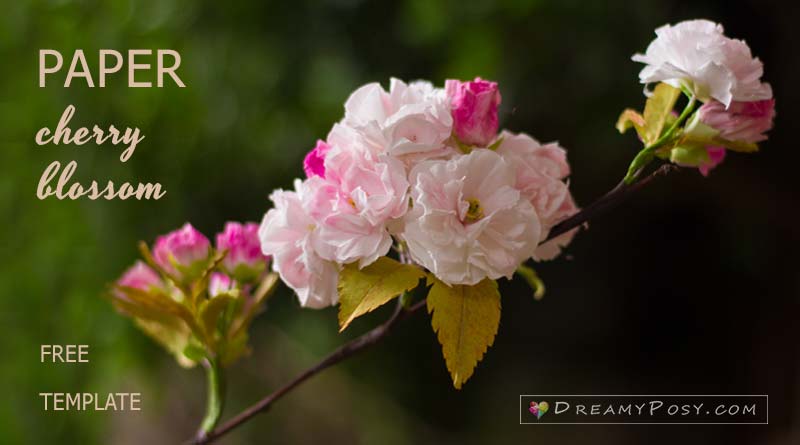
I always try to replica from real flowers. Here is the inspirational picture for me this time.
I opened it on my computer all the time of crafting these flowers. I made 5 failed flowers until I’m happy with this technique.
That’s it. There is no secret, just keep practicing.
And finally, I always feel that I’m so tiny tiny tiny under Mother Nature.
Well, we could make many paper flowers from very simple suppliers. Please bookmark these paper flower tutorials from facial tissue, as there will be more.
Happy crafting,
Ann.

I would love to make the cherry blossom, I am unable to download the template. I hope you will let me know what I am doing wrong. Thank you so much. I love you flowers
Hi Demetria,
These cherry blossom tutorial doesn’t need any template, dear. Pls watch my video to see how easy I cut it. Thanks.
I love these cherry blossom flowers ! It looks so beautiful and realistic ! 🙂
How do you make the leaves ? Is there an easy way to cut the edges of the leaf ? and which paper do you use (120gr/m2) ?
Thanks in advance 🙂
Thanks Deborah. Yes, the leaf paper is around 120gsm. And you could find an easy way to cut the leaf edges in my rose tutorial video at https://www.dreamyposy.com/easily-realistic-rose/
Son muy hermosas y se pueden hacer de matetiales accesibles a uno y jasta reciclados me gustan mucho y se ven muy reales
I’m glad you like it 🙂