The best 3D rolled paper roses Cricut tutorial and SVG, PDF templates
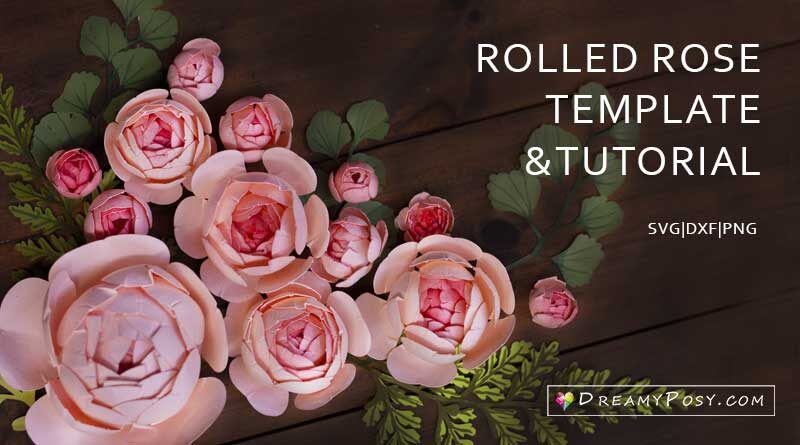
This rolled paper roses Cricut template is my newest design and this is definitely the easiest way to make a beautiful paper rose flower.
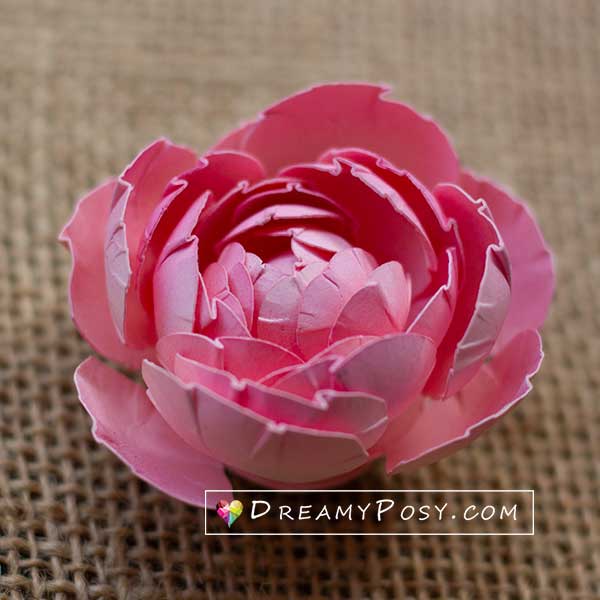
And I can happily say that this is the most realistic paper rose flower I could ever design.
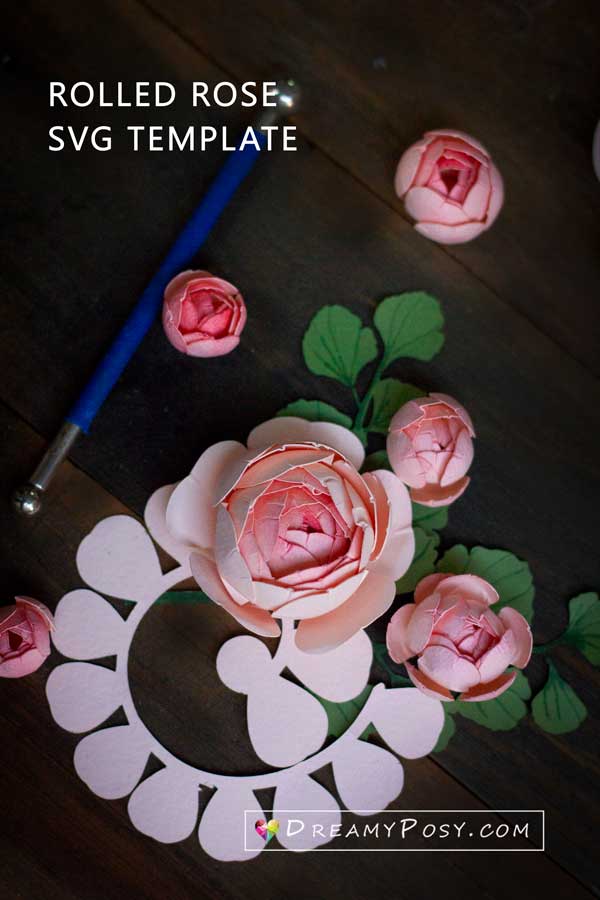
This is Koster rose or Tree rose? I don’t know but I love this rose’s form and shape so much.
I dreamed about it quite a long time ago and could not stop thinking about how to design it, in the easiest way.
And now I am so happy that I could and share it with you all.
I tried so many versions. And this is the first one I’ve thought it’s quite good. But my daughter loves this. So I kept it.

Here is the second version I customized with the same technique.
And I think this is the best one.
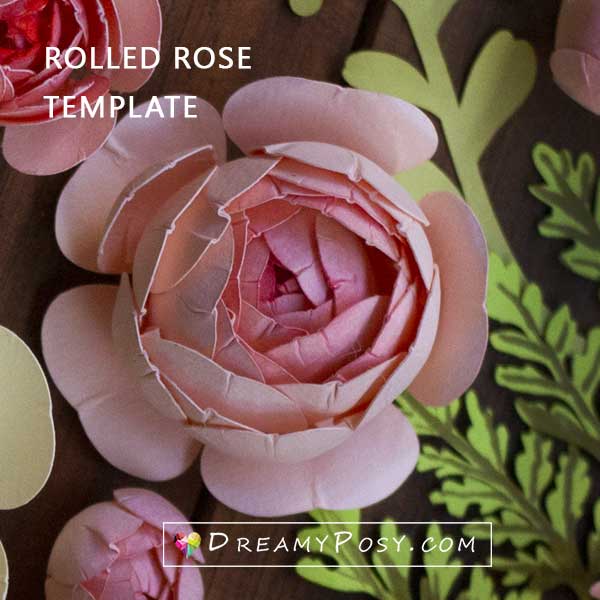
This rose is so beautiful outside, as those creases are vague.
Well, I knew my girlfriends always don’t appreciate my photography skill, as the pictures showed their wrinkles clearly. They preferred 360 apps, lol.
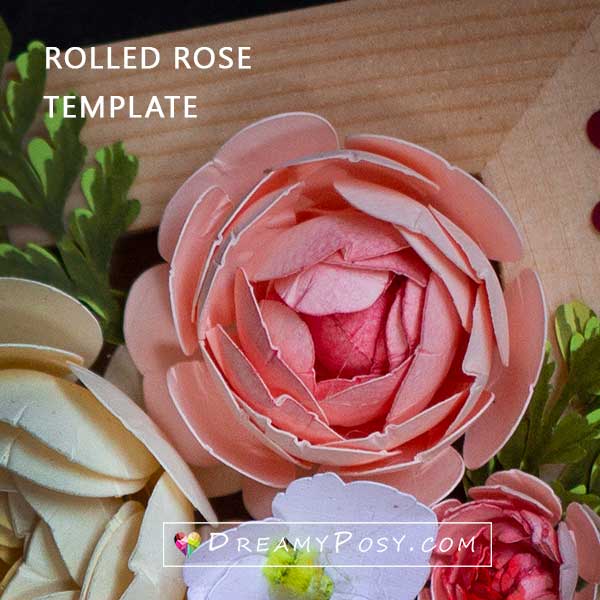
And my daughter suggested I design with fewer petals, so here is the 3rd version of the rolled rose template.
And here is the rolled rose template for the rosebud.
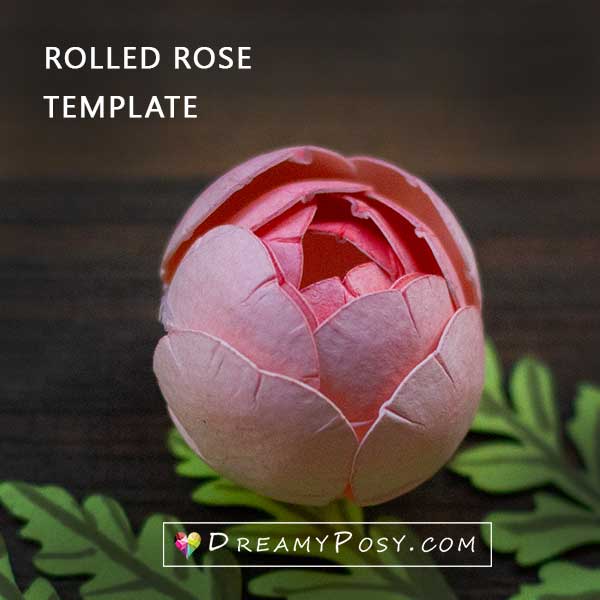
Your projects, a shadow box or a wedding welcome board,.. will be much lovely when we have various sizes of flowers and buds and leaves.
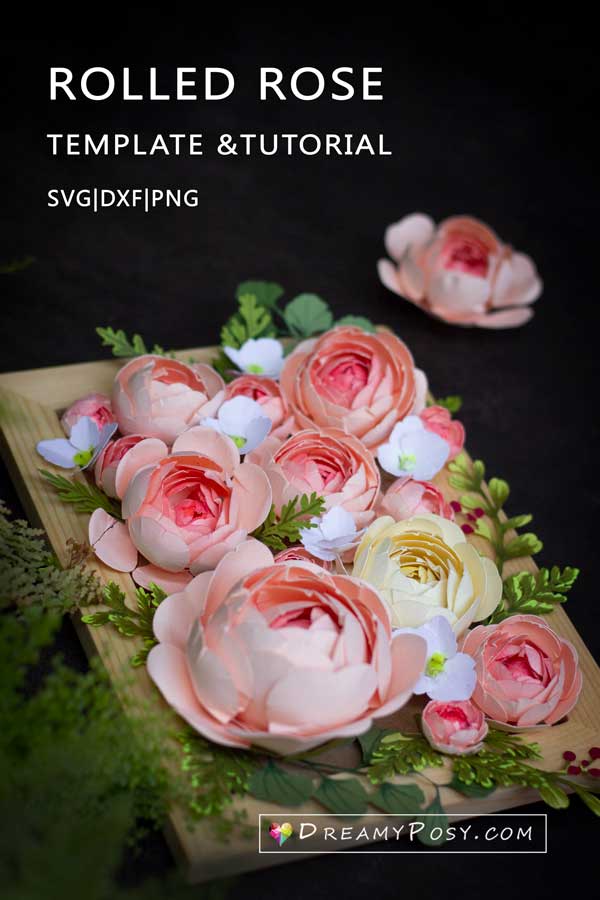
Some project ideas for you to use these rolled paper roses
- Home Decor: Paper roses can be used to create beautiful wall art, wreaths, or garlands. You can create a stunning centerpiece by placing a bouquet of paper roses in a vase or adding them to a picture frame.
- Wedding Decor: Paper roses can be used in wedding decor as a budget-friendly alternative to real flowers. You can create paper rose bouquets, boutonnieres, and centerpieces.
- Gift Wrapping: Use paper roses to embellish gift wrapping paper or to create a unique gift tag.
- Scrapbooking: Paper roses can add a special touch to scrapbook pages. You can create a 3D effect by layering the paper roses on the page.
- Hair Accessories: You can create beautiful hair accessories by attaching paper roses to hair clips or headbands.
- Jewelry: Paper roses can be used to create unique and beautiful jewelry pieces like earrings, necklaces, and bracelets.
- Party Decorations: Paper roses can be used to create beautiful decorations for a party or event. You can create paper rose centerpieces, place cards, or party favors.
- Bookmarks: Paper roses can make lovely bookmarks, just glue them onto a strip of cardstock.
Materials needed for this rolled rose:
Contents


Step-by-step instructions to make this rolled rose.
Please see the video tutorial for more details on how to work with these rolled paper roses Cricut templates.
(THIS POST PROBABLY CONTAINS AFFILIATE LINKS. OUR FULL DISCLOSURE POLICY IS REALLY BORING, BUT YOU CAN FIND IT HERE)
Step 1: Cut the templates
I used cardstock 65lbs
The rolled paper roses Cricut template set has 4 floral templates and 3 leaves templates, with very intricated cuts.
So this template set is recommended for cutting machines only. E.g Cricut or Cameo cutting machine. But I also include the PDF file for hand-cut if you want to try.
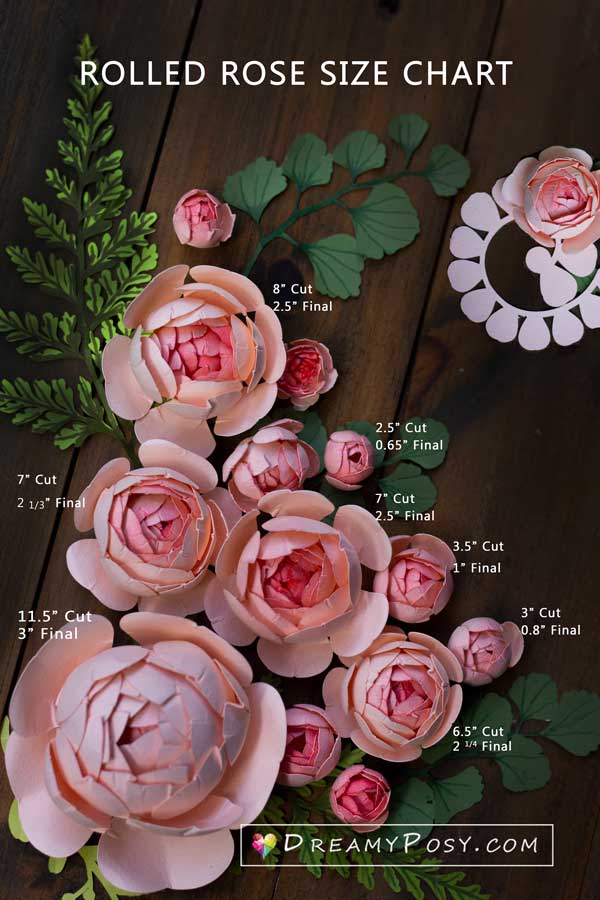
And please follow this rolled rose size chart for your reference.
Step 2: Color the petals
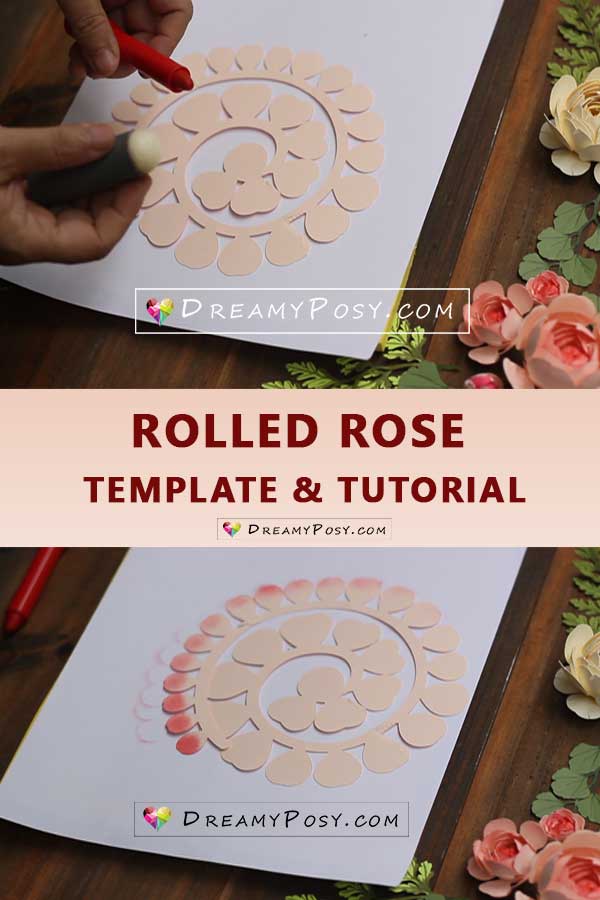
I have tried so many kinds of colors for cardstock: soft pastel, watercolor, acrylic paint…, but here is my most favorite color now: Silky Crayon and a sponge dauber.
Professional paper florists love to use Pan pastel for coloring both crepe paper and cardstock. I haven’t tried it.
But I’m happy with this Silky Crayon as it has more color range. It’s cheap and it’s not fade away as soft pastel. It’s easier to color with a dauber than using a brush for watercolor or acrylic paint. It’s also not dry as oil pastel.
For rolled paper flowers, the artists advise inking both sides. But for this particular rolled rose, I ink just 1 side only.
I colored the pink shade from dark at the beginning and lighter in the middle of the template, as I want the flower to have the Ombre color from the center.
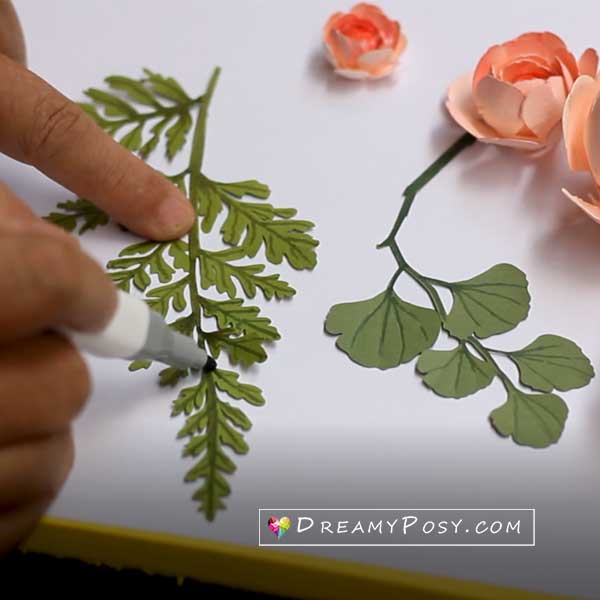
For the leaves, I used Alcohol Marker pens. The alcohol will help the color blend so well that your leaves look realistic.
Step 3: Form the petals
Previously, I used a shaping mat and the ball sphere stylus to form the petals.
But look at the creases on the paper flower petals. The mat is not too hard to iron the creases, no matter how strong I press on the stylus.
So I used the paper quilling mold instead.
The video tutorial shows you some tips to form the petals properly.
Please be noticed that I applied different forms for different petals: a half-sphere form for the inner petals and just a few curves for the last 5 petals.
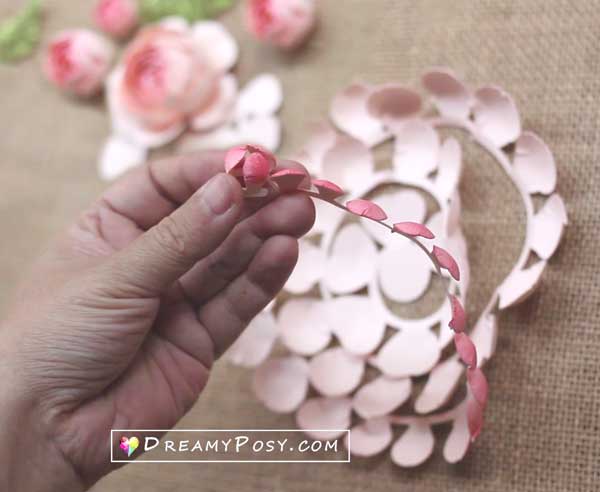
Step 4: Rolling the template onto a flower
Now it’s the most favorite part of making this rolled rose: rolling
Out of many ways of making paper roses in my blog, you will agree with me that rolling flowers is the quickest way to complete a paper rose.
All you have to do is make sure that the petals are interleaved.
Watch the video to see how I adjusted the petals by folding the bottom stripe back.
As you can see in the video, we will curl the outer point and roll with a big hole there (that’s why we don’t need a tweezer or quilling tool, just your hands).
And glue at some point, and don’t unroll the flower after finishing rolling.
Just glue the circle in the center of the template to fix all the petals, a lot of glue will be needed.
You can use your fingers to open the flower from the top.
Step 5: Stem the flower
Insert the wire’s circle head to the bottom of the flower.
Cover the wire by gluing the sepal to the bottom of the flower.
Insert the wire into a 3mm transparent PVC tube and wrap it with floral tape.0
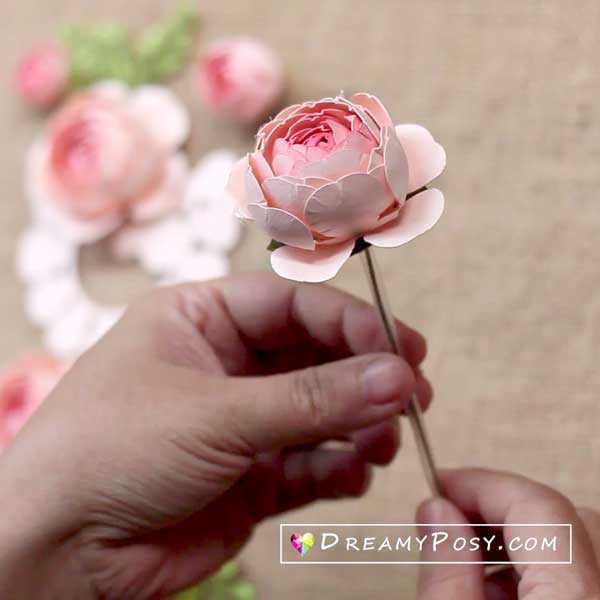
That’s all.
The templates are in SVG|PNG|DXF for the cutting machines, but I also prepared the PDF file for someone who wants to hand cut, which includes:
- 1 rolled rosebud template
- 3 types of rolled rose template
- 3 types of leaves

See more tutorials and templates >> Free paper rolled flowers | Easy paper peonies flowers | Paper ranunculus flowers | Paper Camellia flowers | Paper sun flowers
Happy crafting,
Ann.
