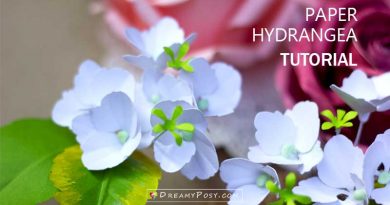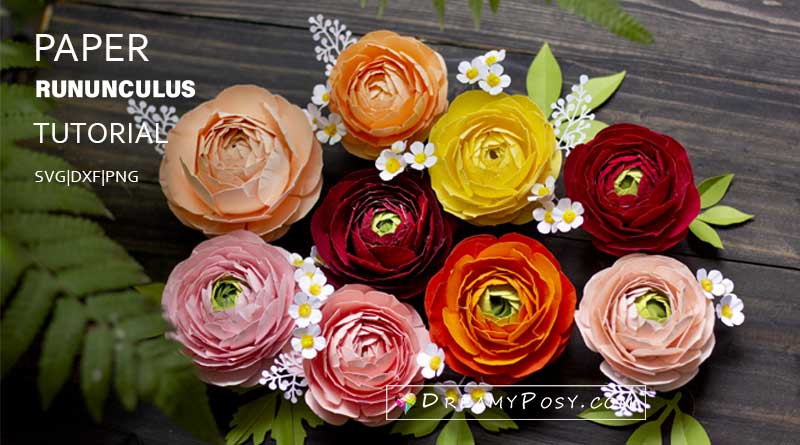
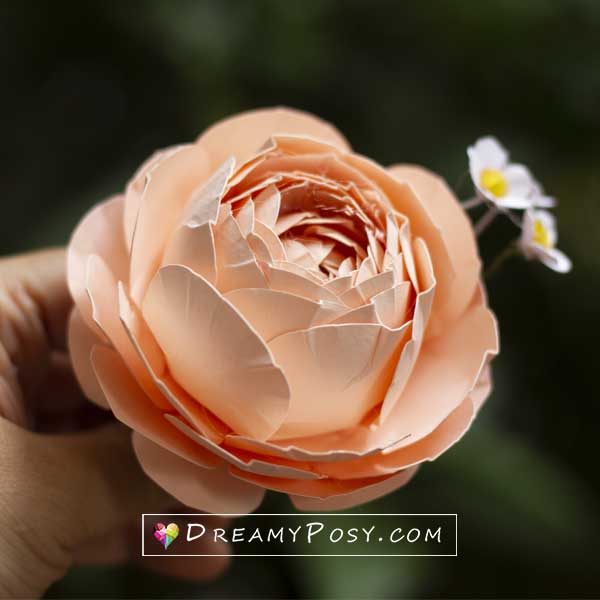
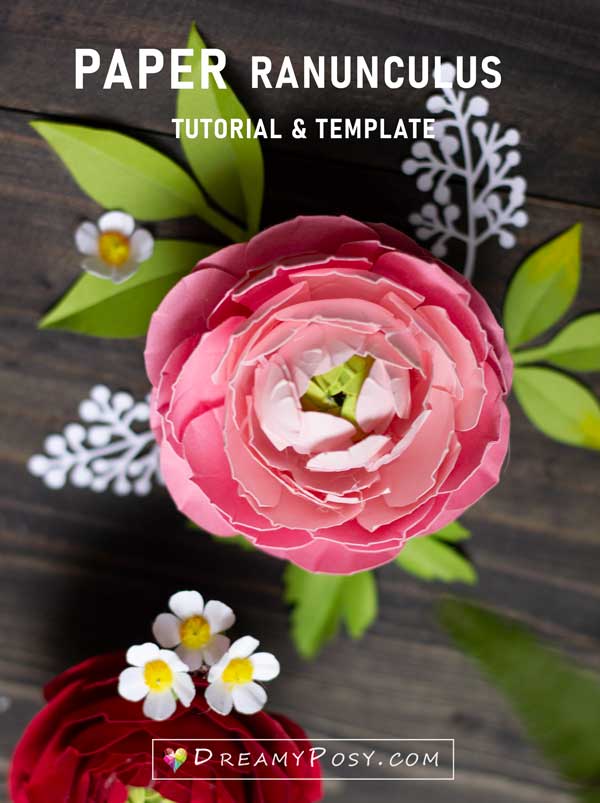
Cardstock Ranunculus flower, step by step tutorial and template
Cardstock Ranunculus flower is really a challenge for me.
Although I have shared the paper Ranunculus tutorial made from coffee filter quite a few years ago, but I kept failing from time to time.
The most difficult part is designing the petals, estimating the petal sizes, arranging the petal in different ways to imitate the real flowers.
I’m sure that you will find out it someday, but it’s so time consuming. So let me help you to save your time for this part.
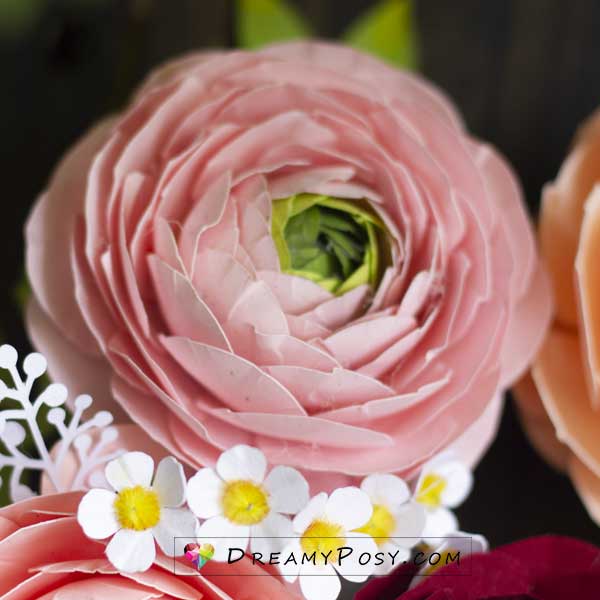
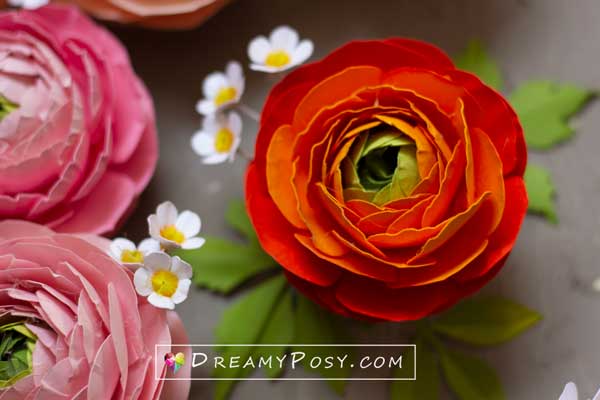
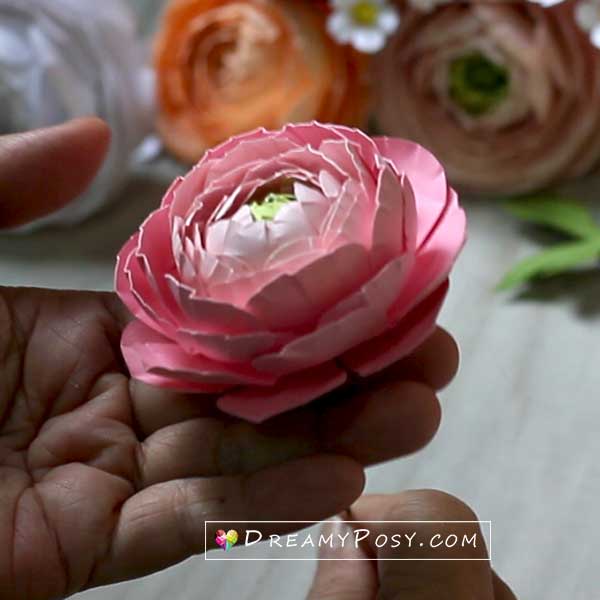
Making these beautiful flowers is easy.
You just need to sculpt the petals by the ball sphere stylus and glue them together.
Here is one part of the tutorial video to show you how easy to make these flowers.
Or just look at the following picture, you will find that it’s quite simple.
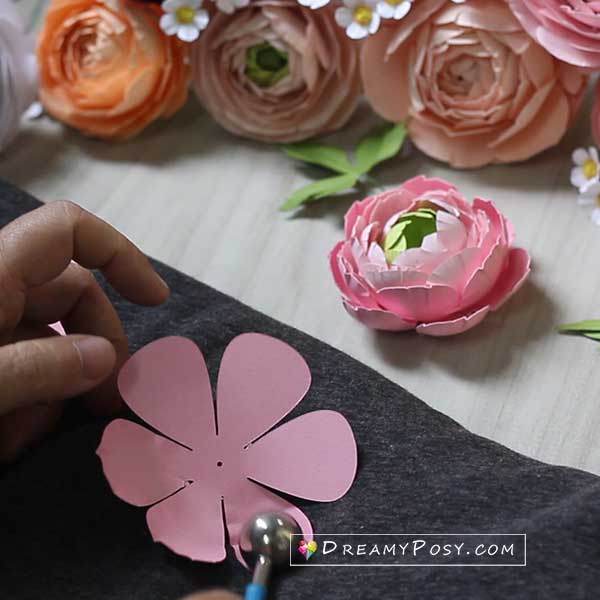
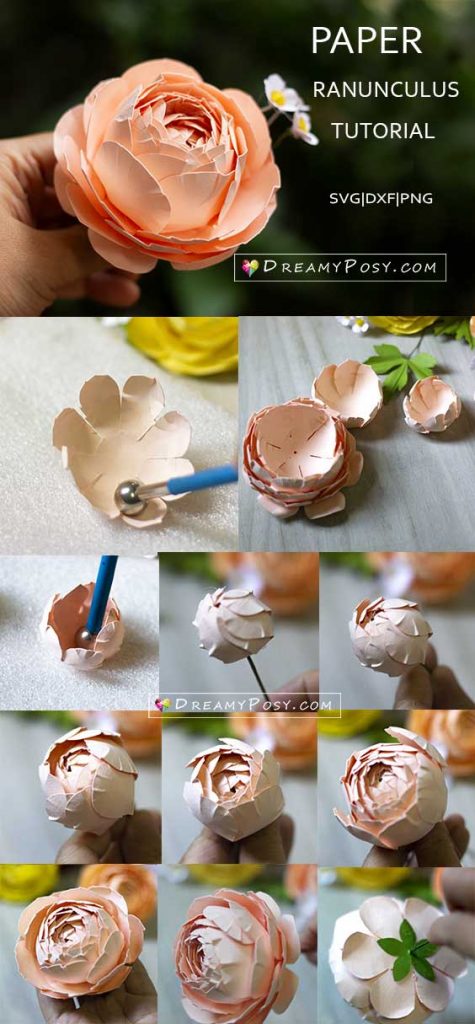
Step 1: Cut the templates
Contents
Cardstock could be from 40lbs to 65lbs. And you could consider to use different color in one flower.
The template is in SVG|PNG|DXF format, includes 7 layers of petal, sepal and leaves.
If you want larger flower, please remember to choose all the items before resizing, so that the changes keep the same ratio.
If you use the 12×12 cardstock, the flower size could be from 2.5 inches to 8 3/4 inches.
Step 2: Sculpt the petals
Use the ball sphere stylus to sculpt the petal in spherical shape.
Step 3: Glue the layers
Insert a small wire to the hole of each layer will help the flower be balance and neatly.
Just glue the layer after the layer as I shared in the paid tutorial below.
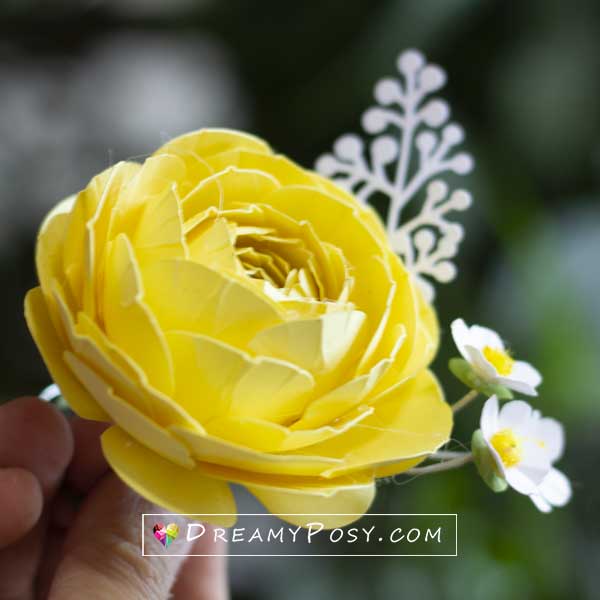
Finishing the flower by gluing the sepal.

Step 4: Making the leaves.
I just sandwich a wire between 2 pieces of paper leaf by white glue.
Add some curves to the leaves.
Voila. Please pin me.
Materials needed
- Cardstock
- Cutting machine or scissors
- Ball sphere stylus
- Glue gun and glue stick
- Small wire