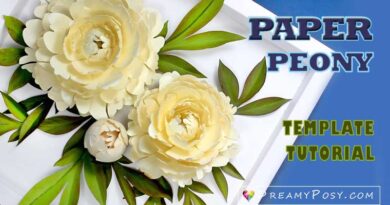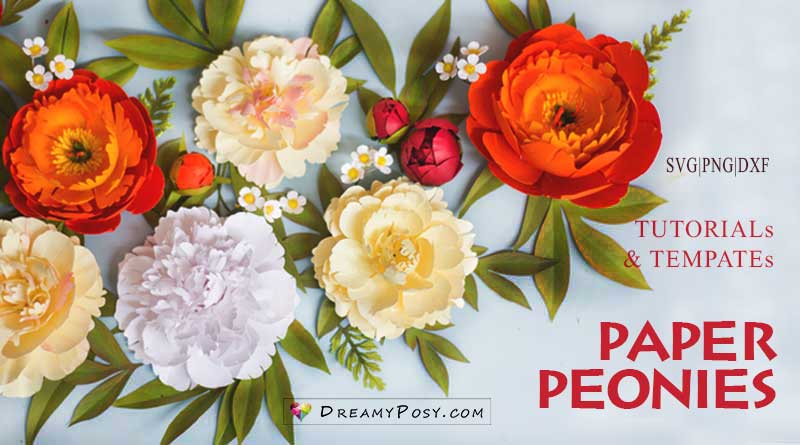
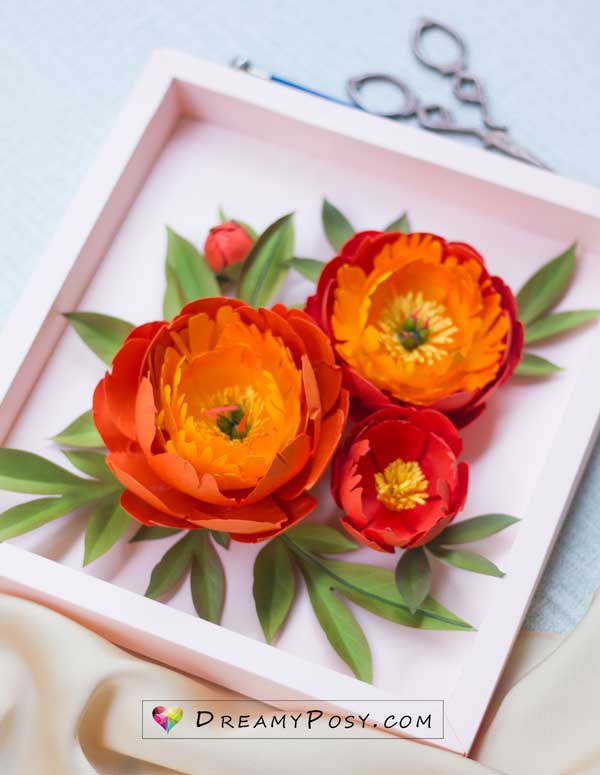
Paper Peonies tutorials, with SVG|PNG|DXF templates
There are hundreds of peonies varieties.
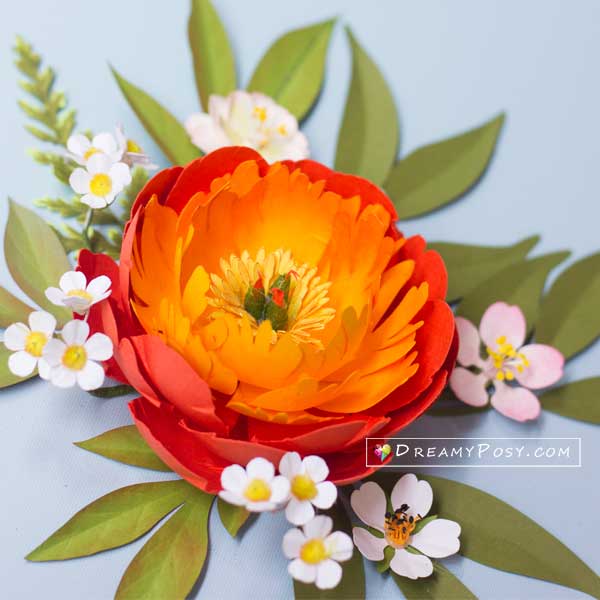
But my favorites are the Coral Charms, and Bowl of Cream, Shirley temple, and Moonstone peony.
I tried my best to imitate those beauties with simple techniques.
So I made these four paper peonies tutorials, with full paper peonies templates for the Cricut and Cameo cutting machine.
You definitely could DIY paper peonies bouquets by following my step-by-step tutorials.
It’s so easy. Let’s start.
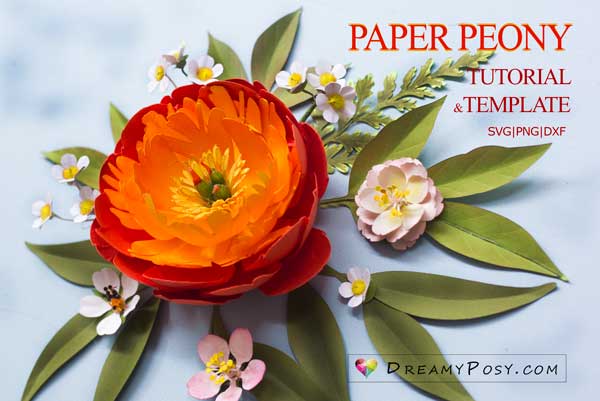
Paper Coral charm peony tutorial
Contents
Please watch the video tutorial as I tried my best to shoot as close and clear as I can.
Materials needed:


Step by step to make paper peony Coral charm:
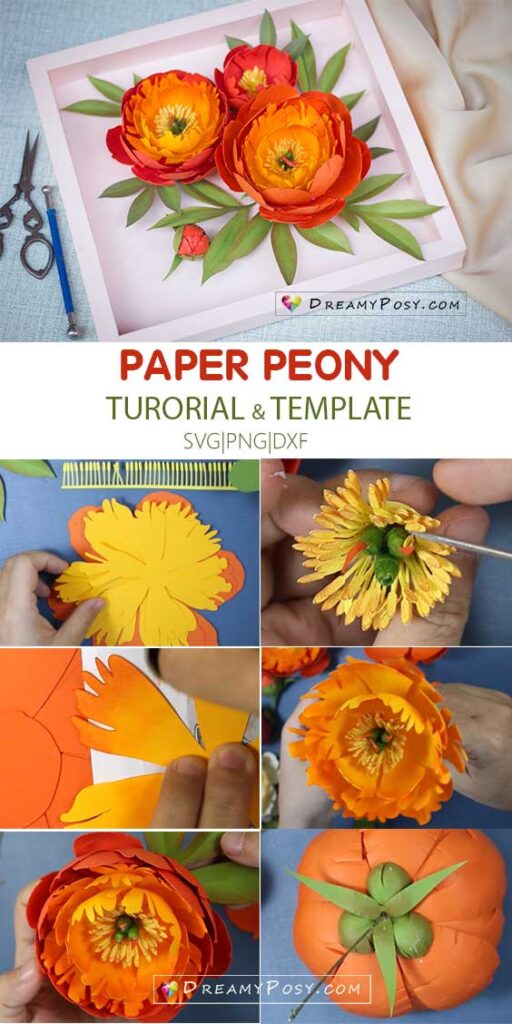
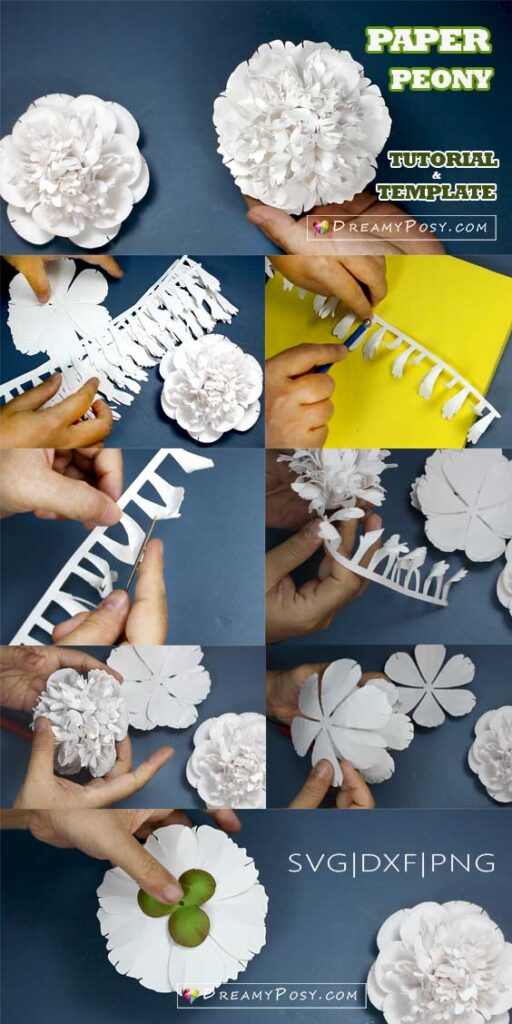
Step 1: Cut the template set. You will need to cut:
- 6 layers of petals in different sizes (3 in orange color, 3 in egg york yellow)
- the sepals
- the stamen
- and three kind of leaves. Please cut the leaves in different sizes and use it naturally.
- Measurement: I cut the largest layer of petal at about 6″ width and the final flower is 4″.
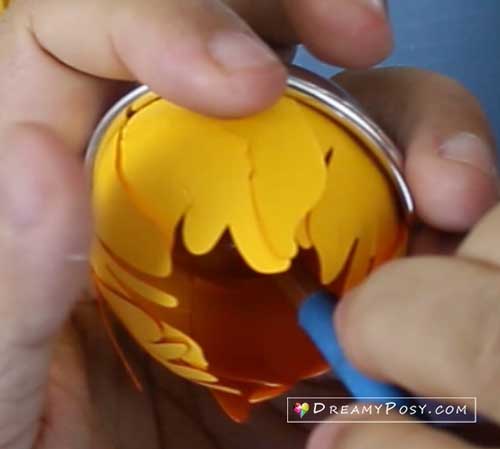
Step 2: Color the petals, the stamen and leaves
- Using the dauber to color the egg york yellow with red silky crayon, so that it would match with the orange color.
- Color the anthers of the stamen with red silky crayon
- Do the same with the edges of the sepals’ and the leaves to make it look deeper.
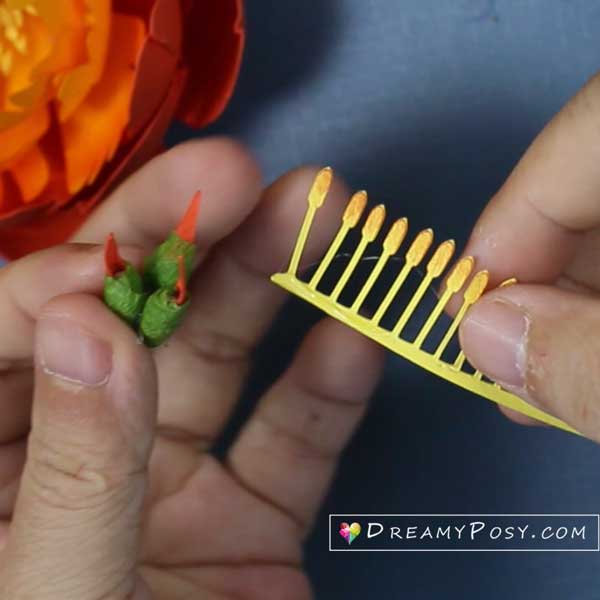
Step 3: Make the flower center (optional)
- Wrap three cotton swabs by floral tape, add a little pieace of orange paper on each to make the pistil of the flower.
- Wrap the yellow stamen template around the pistil and use an awl to have the bent out shape.
- This step is optional as you could make a very closed peony. All you need is to form the first layer of petal as closed as you can.
Step 4: Form the petals.
- The Coral Charm peony flower has a ball form, so we will have to use a ball mold. I used 2 kinds of molds here as we have different size of petals and sepal. The metal mold is lager than the plastic mold.
- You could use your hands to apply the petals to the mold, but use the ball stylus will decrease the creases on paper.
- You can choose the size of the mold depends on your petal sizes. Please the the above measure to calculate your final flower’s width.
- To avoid the creases on petals, please apply the petal from the bigger mold to the smallest one. Watch the video for further details.
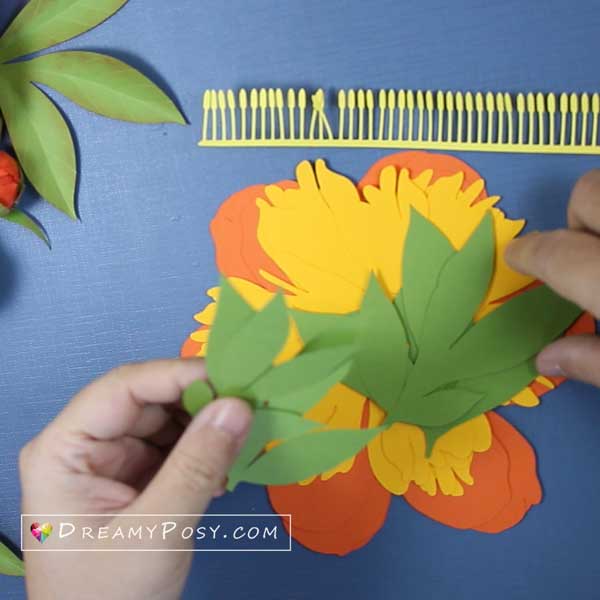
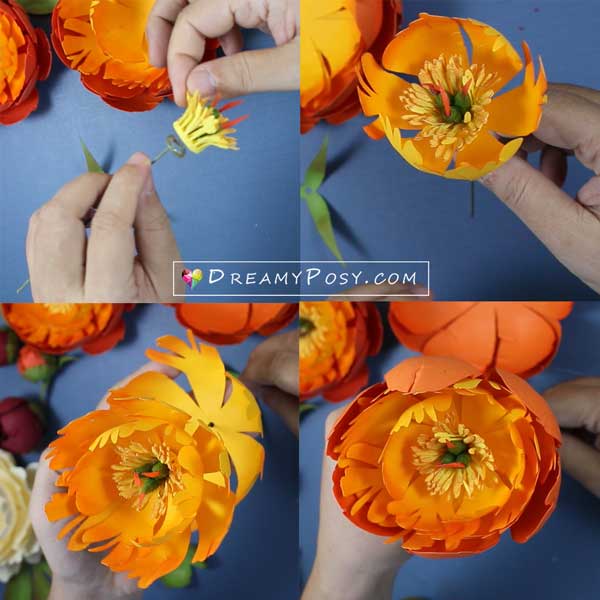
Step 4: Glue the paper peony with the following order:
- Make the wire head (optional
- The flower center
- Glue 6 layers of petals in the order in the template instruction.
- the sepals
- Insert the wire to the PVC tube and wrap the tube with floral tape.
Notes: You could glue all together without a wire, but I preper to use a wire as each layers has a small hole, so all layers are glue precisely.
For the paper bud peony, please apply the same technique to make the first layer of petals, without the stamen.
You might want to make a bigger paper peony bud from 2 layers of petals.
That’s it. Here is the template.
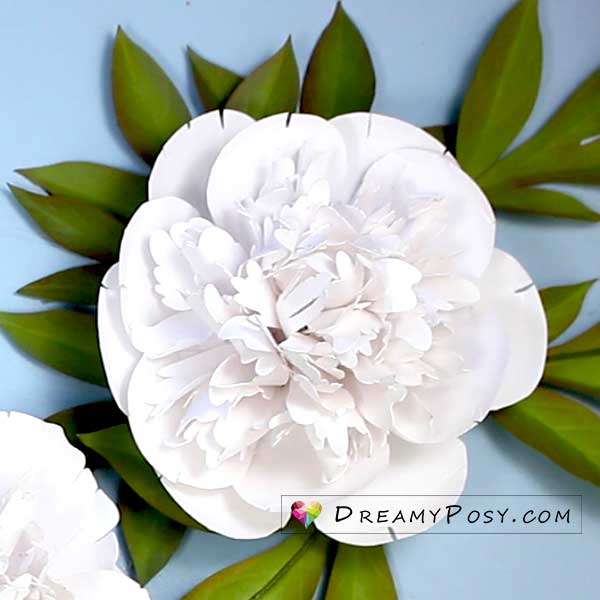
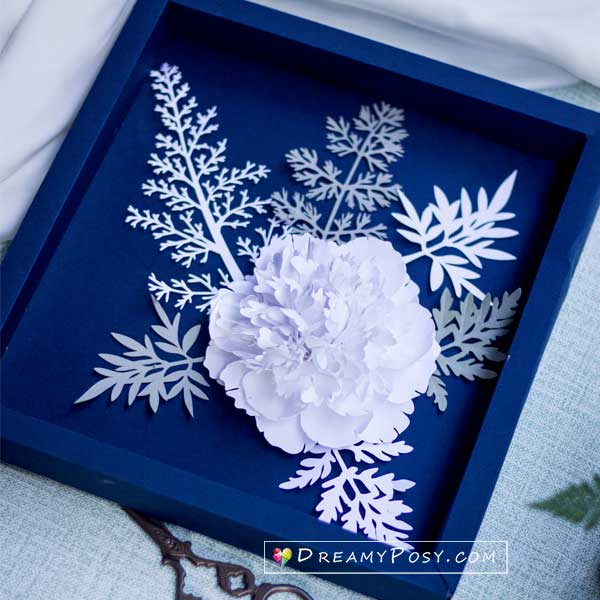
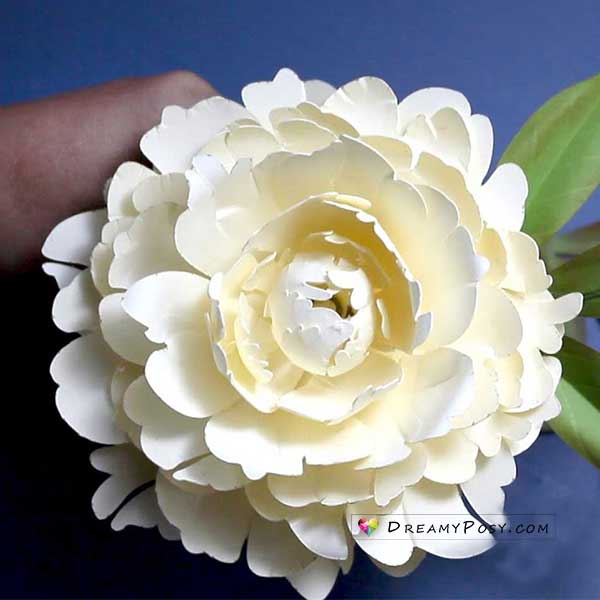
And here is another tutorial for Moonstone white peony, with SVG templates.
As this paper peony has a lot of tiny petals with different shapes, so I don’t make the PDF template, as it’s too hard to cut it by hand.
I love to flat lay these paper peony with my paper blossoms template SVG
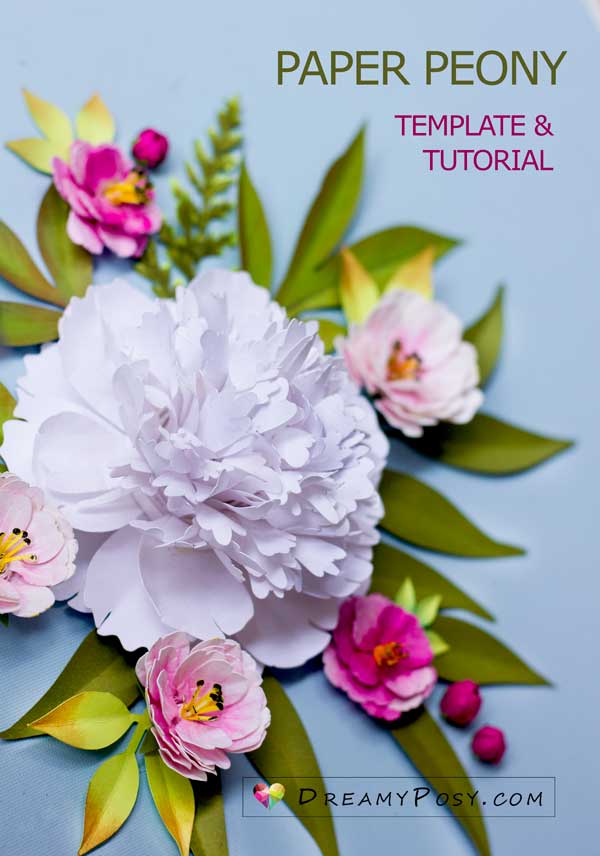
Or playing with my leaves SVG templates collections
Here is full video tutorial with step by step instructions:
Here are some screenshots from the video
I’ve shared another tutorial and template to make this Bow of Cream paper peony here.
Loves,
Ann.