How to make paper gardenia and foliage, FREE template
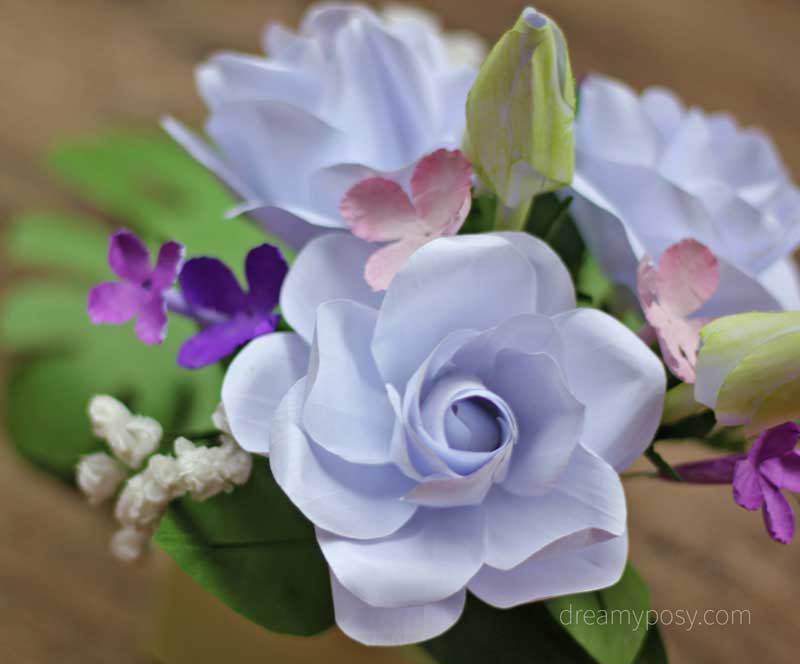
Today I will share you an easy tutorial to make paper Gardenia flowers from printer paper.
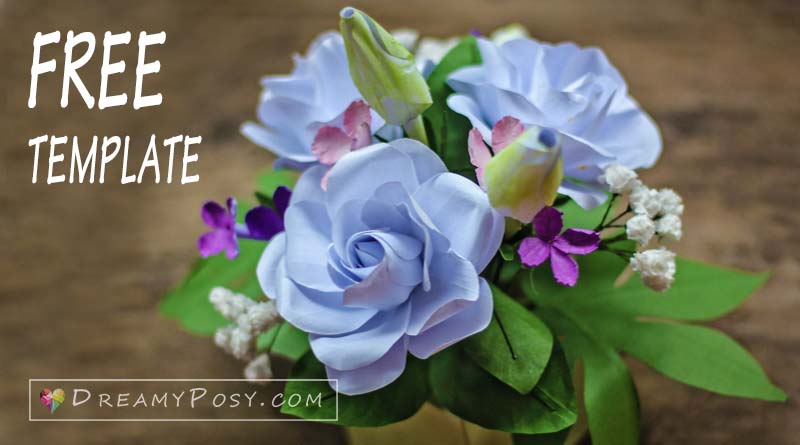
Plus simple steps to make some paper purple Lilac and tissue baby breath flowers.
A professional florist told me that a flower arrangement will be more beautiful if you combine big – medium and small flowers together, in color harmony.
Video tutorial to make paper Gardenia flower:
Contents
White, pink and purple will be the colors of this paper centerpiece.
We could easily have our own favorite paper colors by using pastel chalk and watercolor on printer paper.
But first thing first, an arrangement will be perfect only if each flower is perfect.
And perfect is the result of keep practicing.
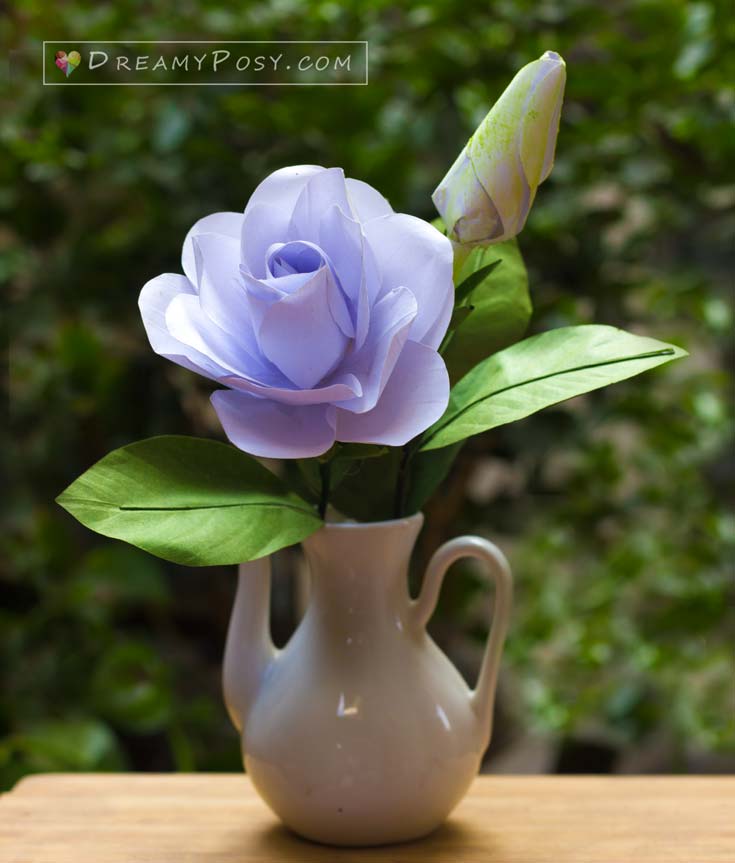
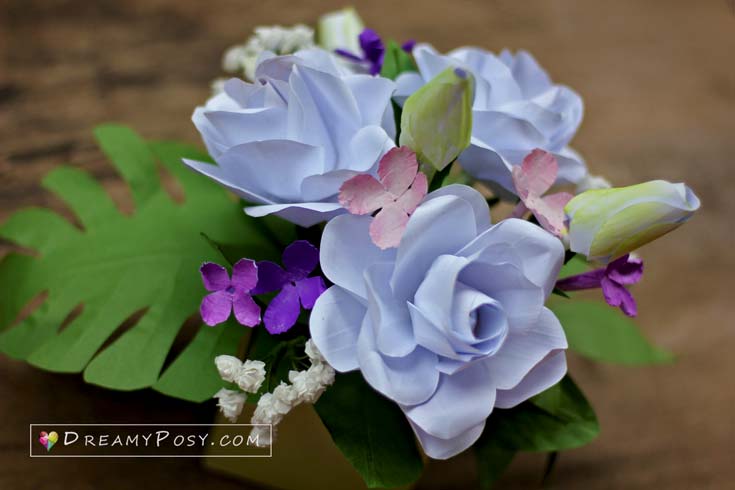
Step by step instruction to make paper Gardenia flower:
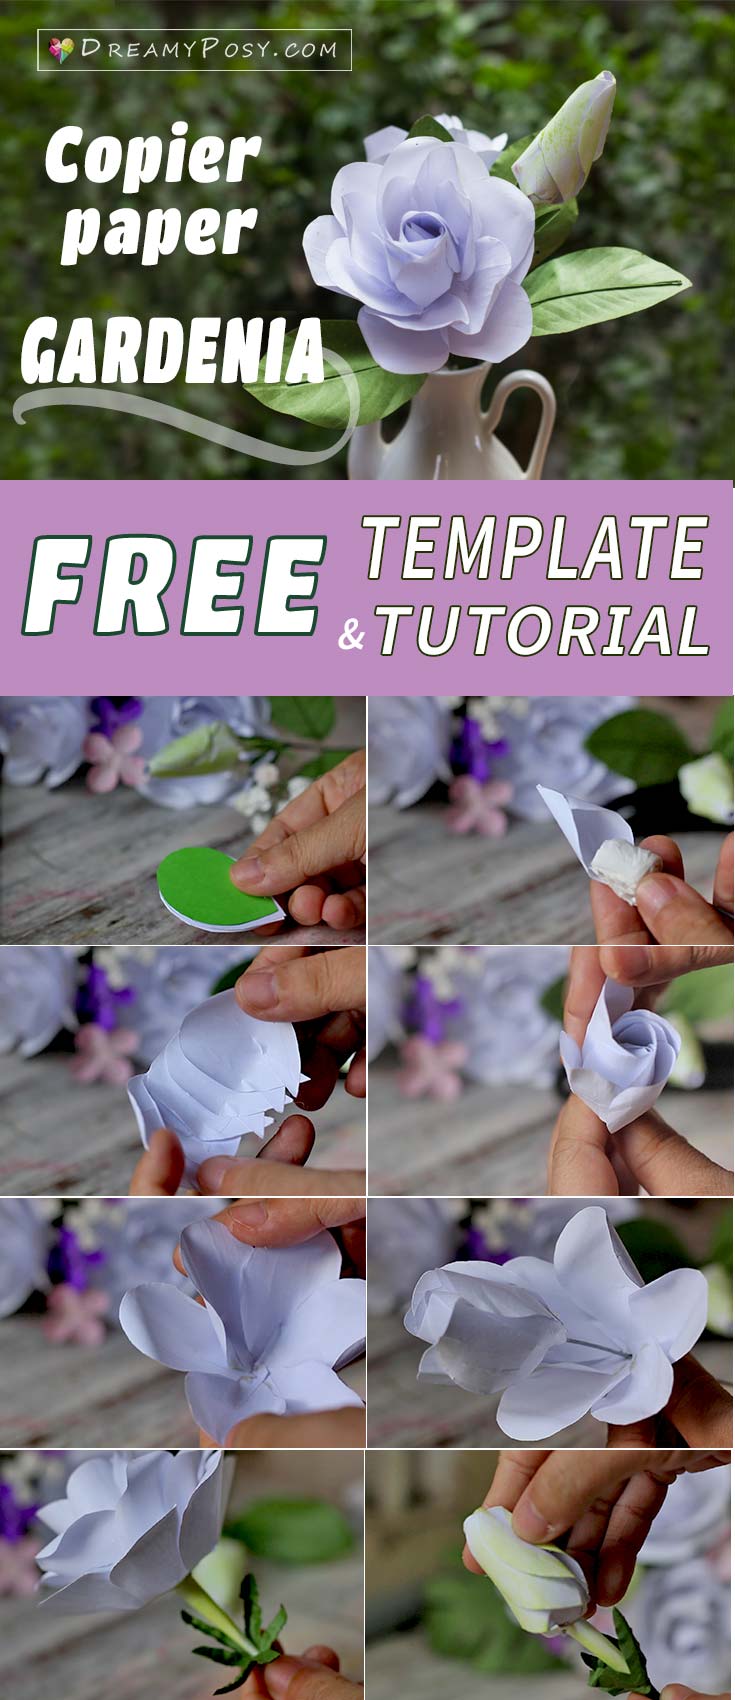
Download the free template. If you don’t have a printer, just apply a paper to your computer screen and trace with a pencil.
Cut the petals and soften it as video instruction. You will need 12 inner petals and 12 out petals.
Wrap a tissue thick strip around the wire #20 gauge to form the flower core.
Take one inner petal to cover the core as a cone shape.
Glue 5 inner petals together and wrap around the flower center.
Insert 6 inner petals between the previous petals. This step will help you make the typical Gardenia flowers. Otherwise, it will be more like a rose.
Glue two layers of outer petals together. Each layer has 6 petals.
Insert the center flower to those 2 layers accordingly. Curl the petal in the different directions to help it looks naturally.
Make the long roll and a small piece of green paper from the template for the sepal. Color it with lime green chalk.
To make the Gardenia buds, use 6 pieces of outer petals template and glue it tight. Color it with lime green chalk, too.
To make the Gardenia leaves, cut the green paper with the template. Glue it with the wire gauge#24 and use the dull edge of the scissors to create the leaf veins.
For the paper Lilac, cut the template and color it in different purple and pink. Make the same sepal of Lilac as the Gardenia’s one.
Enjoy the tutorial to make paper Baby’s breath here.
What you will need to make paper Gardenia flower:
(affiliate links included)


What is the tool you use for embossing the petals? It looks great. The stylus I have tears the paper, especially if it is thin. Could be my technique needs work, but your tool looks more user friendly.
Dear Nancy, thanks for your interesting in my tutorial. I have updated the Amazon link for that tool in the list of material. Happy crafting.
You are amazing! Thank you so much! I need to have a paper crafting party now!
Thank you, Crysal. I look forward to see your party 🙂
I can’t wait to try! Simply beautiful!
Thank you Becky, I can’t wait to see your final works. pls share me on fb, pls pls
These are stunning! Thanks for the directions!
Thank you Kathy, for taking time to comment. I’m glad you like it.
your English is just fine…. keep creating! Loving your site.
Hehe, thank you, Louise :))