How to make an easy 3D paper Christmas tree?
Decorating your holiday party table with simple yet stunning 3D paper Christmas trees is a lot of fun.
This super simple Christmas craft is easy enough for kids to make, but there are still a few tips and tricks to follow.
Let’s start.
This post might contain some affiliate links that bring me some small commission without adding additional cost to you.
Materials:
Contents
- Construction paper and cardstock (this brand is highly recommended) are both fine for this holiday craft.
- White glue
- Scissors
Video tutorial to make 3D paper Christmas tree
Step-by-step instructions to make a 3D paper Christmas tree
Step 1: Cut the circles
To make a 7-story pine tree canopy, I cut 7 circles with the following diameters: 12 inches, 9 inches, 6.5 inches, 4.5 inches, 3 inches, 2 inches, and 1 inch.
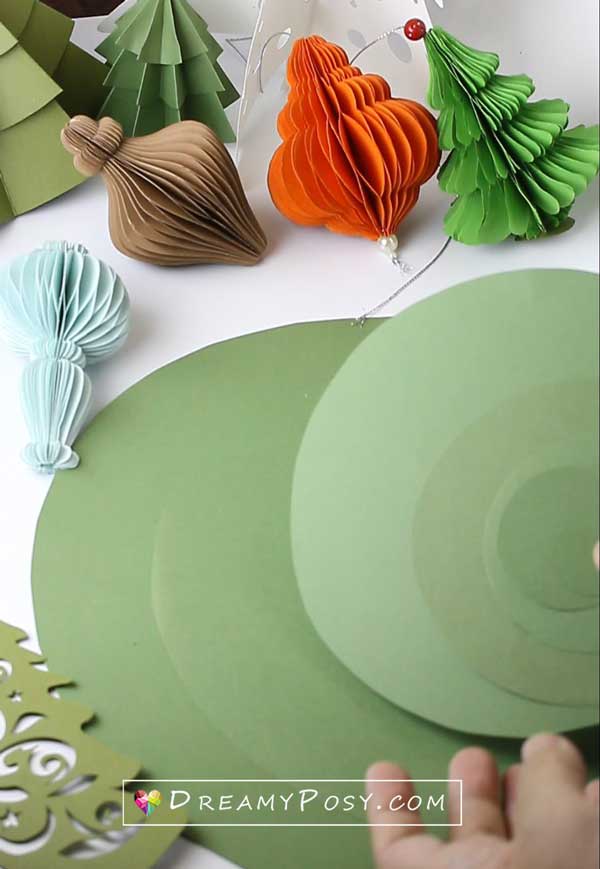
The final height of the tree can be adjusted from 8 to 9 inches by adjusting the spacing between the stories.
To make a larger tree, simply scale up these dimensions and use thicker paper.
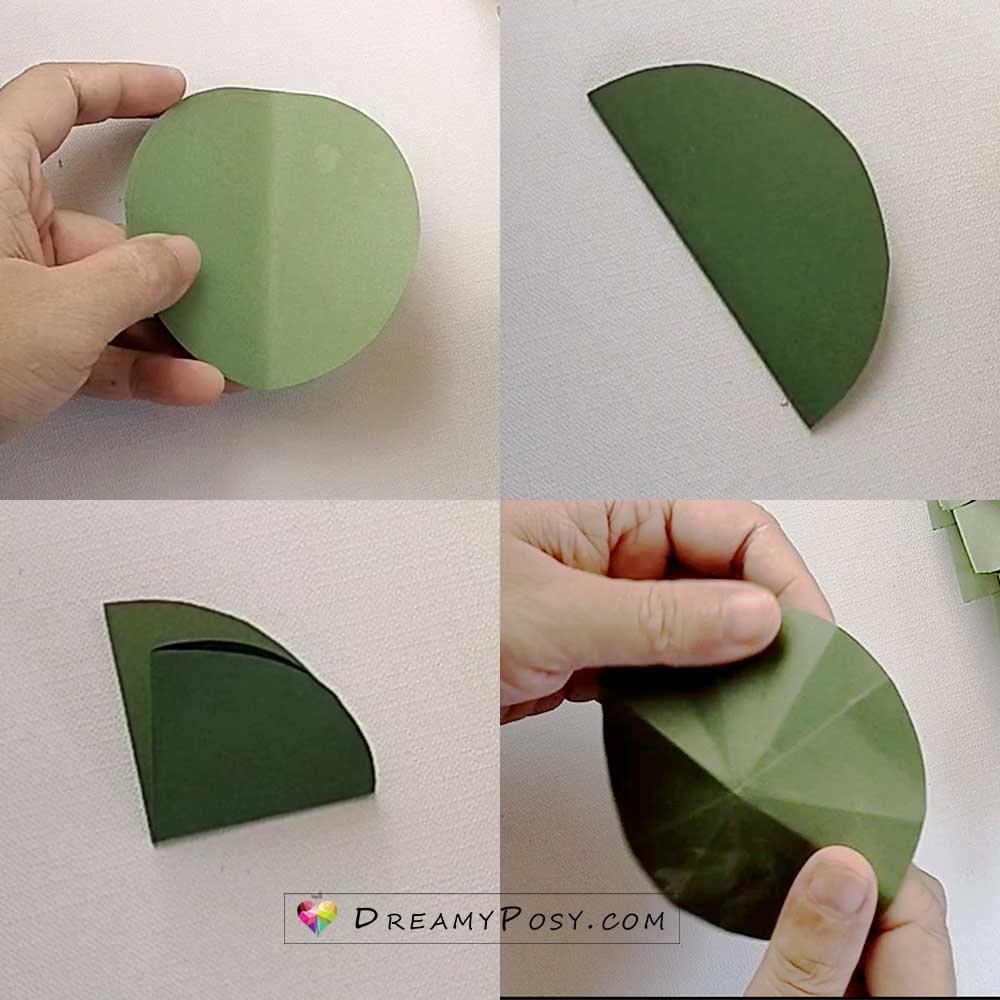
Step 2: Fold the circles
For each of those circles, we will fold the same way.
- Start with a round piece of paper.
- Find the center of the circle. You can do this by folding the circle in half and then in half again. The point where the folds meet is the center of the circle.
- Draw a line from the center of the circle to the edge of the circle. This will be the first fold line.
- Repeat step 3 for 7 more times, making sure that the fold lines are evenly spaced.
- Once you have 8 fold lines, fold the circle along each of the lines.
- Your paper circle should now be folded into 16 equal parts.
Here are some additional tips:
- If you are using a thick piece of paper, you may want to use a ruler to help you draw the fold lines.
- Be careful not to crease the fold lines too much, as this will make it difficult to unfold the circle.
- If you want to make the folds more precise, you can use a protractor to measure the angles.
Starting from the even lines, make a valley fold on every other fold line. Then, make a mountain fold on the odd fold lines. This will create a cone shape like this.
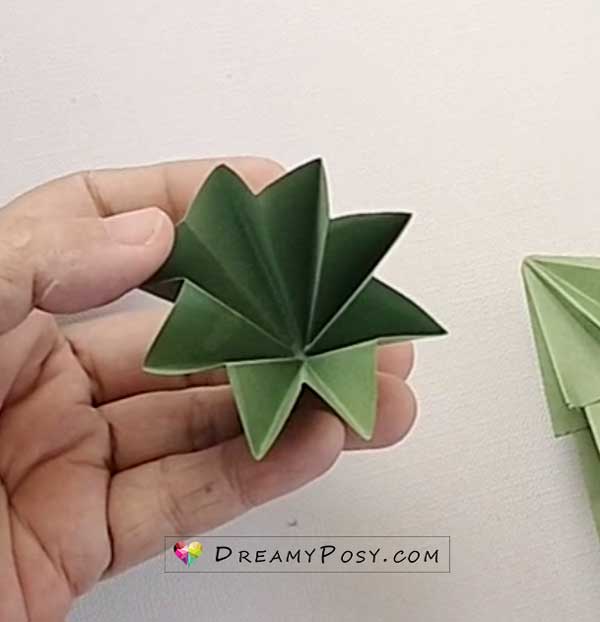
Step 3: Glue the stories
If we stack those cone shapes together as they are, we will have this very “fat” 3D paper Christmas tree.
I don’t like this.
So I decided to glue the edge of each story of the tree.
Please remember to glue just the tip of the edges, so that you could stack them together on the center of the cone.
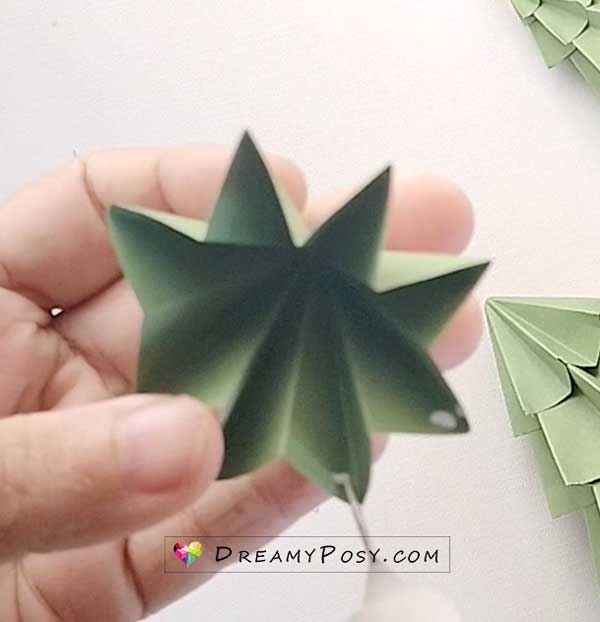
to have this thinner cone shape

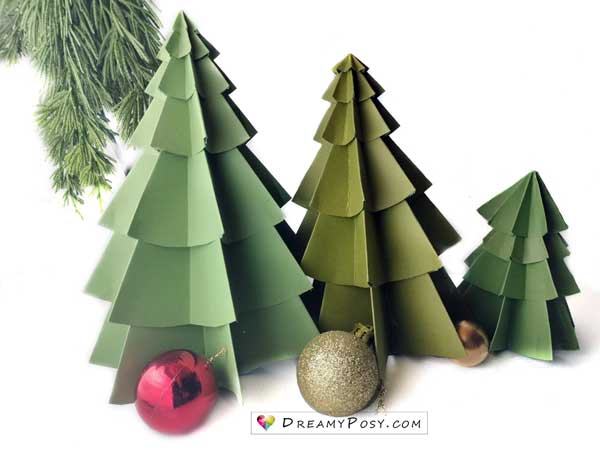
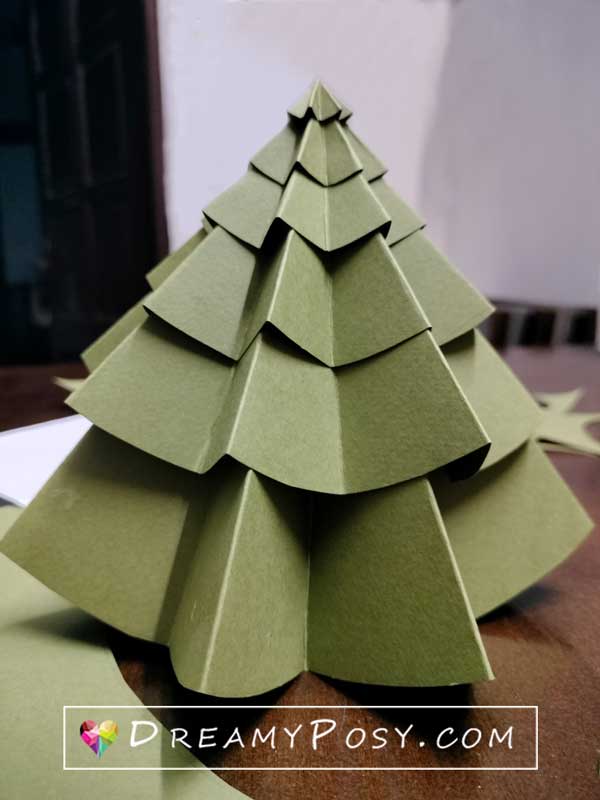
And when you stack them together, here is the final tree.
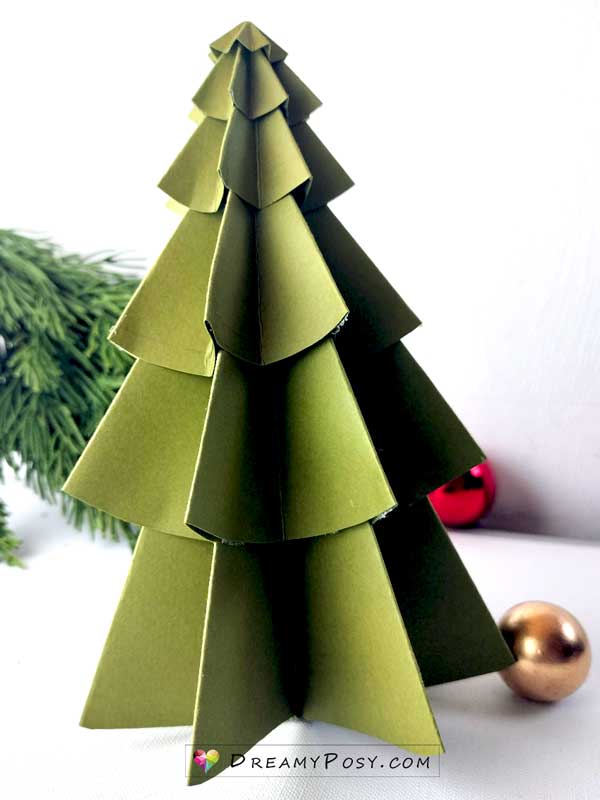
You can decorate the tree with some small red flowers, using our free flower templates.
And arrange as a centerpiece on your party table like this

It’s easy, right?
You can put them on your fireplace or window.
There are many different ways to make paper Christmas trees, please come back and check this out so you can find one that fits your skill level and style.
No matter how you make them, paper Christmas trees are a fun and festive way to decorate for your holidays. So get creative and have fun making your own.
Happy craftings,
Ann.