How to Make DIY 3D Honeycomb Ornaments with free templates (Hand Cut & Machine Friendly)
Handcrafted Holiday: Easy 3D Honeycomb Paper Ornaments
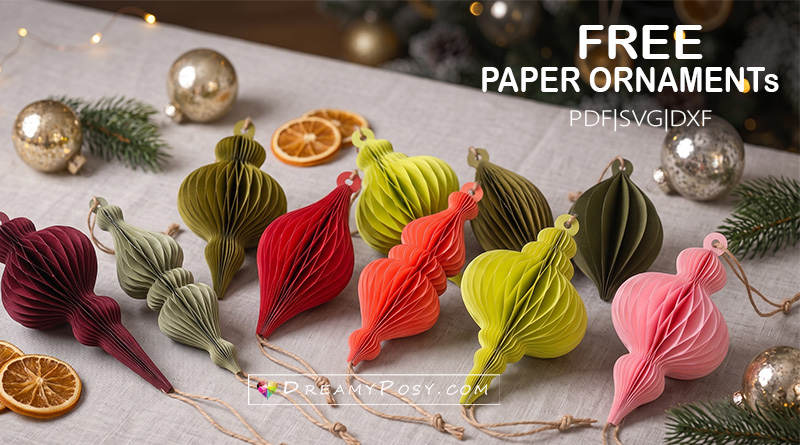
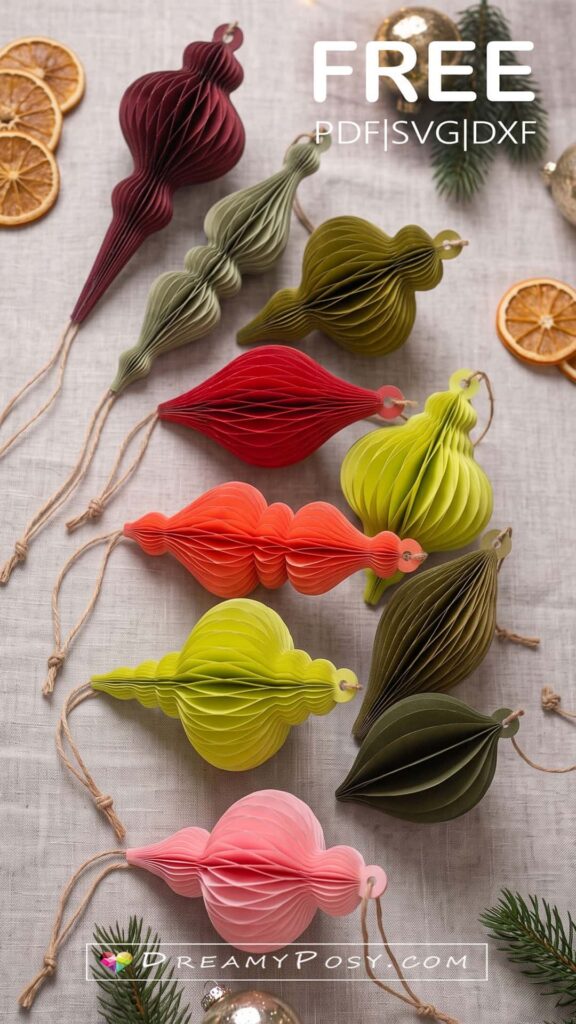
Transform cardstock into dimensional, vintage-inspired honeycomb ornaments using either a digital cutting machine (like Cricut or Silhouette) or a simple pair of scissors with a printable template. This beginner-friendly honeycomb folding method lets you craft an entire heirloom set in festive shades of burgundy, olive, blush, and cream.
Materials & Tools
Disclosure: This post contains affiliate links; I may earn a small commission at no extra cost to you. Find out more here.
- Cardstock: Medium-weight paper (65–80 lb / 180–220 gsm) – this has ideal thickness for clean folds.
- Cutting Tool:
- For hand cutting: Precision craft knife (X-Acto style) or Detail Craft Scissors
- For digital cutting: Cricut Maker or Cricut Explorer Air or Brother ScanNCut (compatible with included SVG)
- Adhesive: Precision-tip craft glue pen or Bearly Art Fine-point Liquid Glue (no-mess applicator)
- Creasing& Folding Tool: Bone folder or Scoring Stylus Tool Set
- Hanging & Accents: Natural Jute Twine, Satin Ribbon, or Metallic Craft Thread
- Craft Needle: Large-Eye Blunt Needles (for easy top loop threading).
Step-by-Step Instructions
1. Cut the Template Pieces
Prepare 16 to 20 identical silhouette pieces per ornament for a rich, full honeycomb finish:
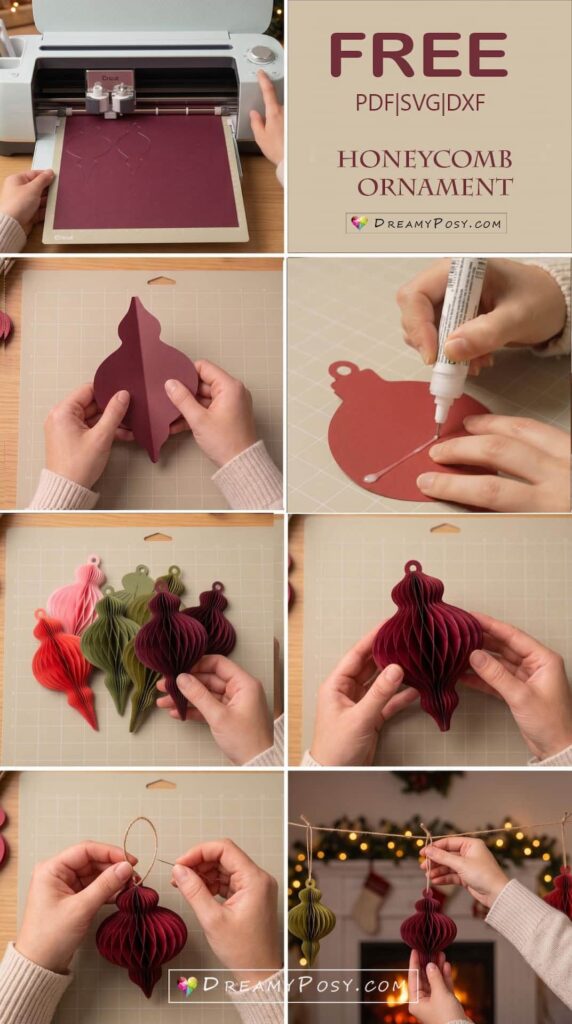
- Machine Cut: Load your SVG into design software, set up the mat, and cut cardstock sheets.
- Cricut Design Space:
- Upload SVG >Add to Canvas> Select design > Click Ungroup
- Select the internal fold lines >Change Operation to Score (or keep Basic Cut if using dashed perforation).
- Select both the cut shape AND its corresponding score lines > Click Attach (paperclip icon at bottom right).
- Select all pieces of an ornament together > Lock aspect ratio > Scale up/down as a set to keep tabs matching.
- Sihouette Studio/Brother ScanNCut:
- Open SVG (Designer Ed.)>Right-click and select Ungroup.
- In Send tab, assign internal fold lines to Score action or low blade depth (Blade 1, Force 4)
- Group shape and score lines together to lock positioning precisely.
- Scale entire ornament template simultaneously to ensure all joints align perfectly.
- Cricut Design Space:
- Hand Cut: Print the template onto thick paper, trace onto colored cardstock, and cut out carefully with scissors or a precision craft knife.
2. Score and Fold
Fold each silhouette directly down its vertical center line. Run a bone folder firmly along the spine to ensure every piece folds completely flat and crisp.
3. Assemble with Honeycomb Gluing
Stack the folded shapes with the spine aligned along one side. Apply dots of glue in an alternating pattern to create the expanding honeycomb cells:
- Layer 1: Place small glue dots at the outer upper and lower curves.
- Layer 2: Place a single glue dot in the narrow center waist. Continue alternating adhesive placements between each added layer until the stack is complete.
4. Expand into 3D
Allow the adhesive to set for 1–2 minutes. Gently fan open the stack around its center axis to reveal the 3D honeycomb structure. Apply glue to join the first and last leaves together into a full 360-degree sphere.
5. Thread and Display
Thread a piece of twine through the top eyelet using a craft needle. Knot the ends securely, trim excess twine, and hang your finished baubles across a mantel garland, on the Christmas tree, or above a warm fireplace.
Pro Crafting Tips
- Template Batching: When cutting by hand, staple 3–4 sheets of cardstock together inside the binder clip to cut multiple layers at once. Using the binder clip to stop the sheets from shifting while you cut.
- Less Is More with Glue: Use tiny micro-dots of glue. Excess adhesive can seep into adjacent folds and prevent the honeycomb from opening evenly.
- Reusable Storage: Instead of permanently gluing the final seam, use double-sided removable tape or mini paper clips so you can fold the ornament flat after the holidays.
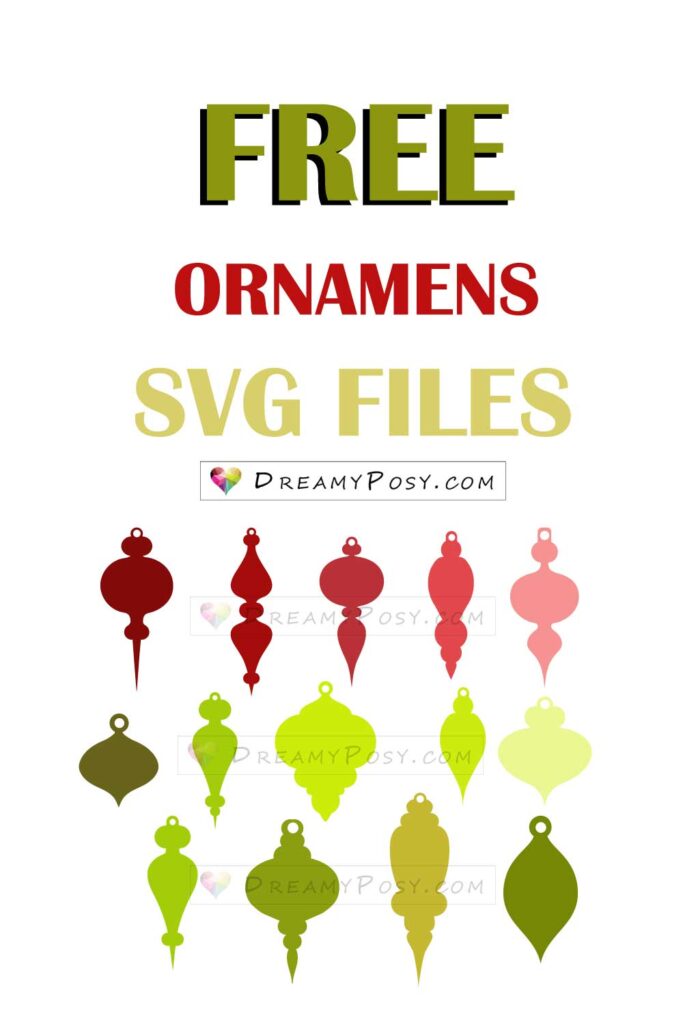
Download templates
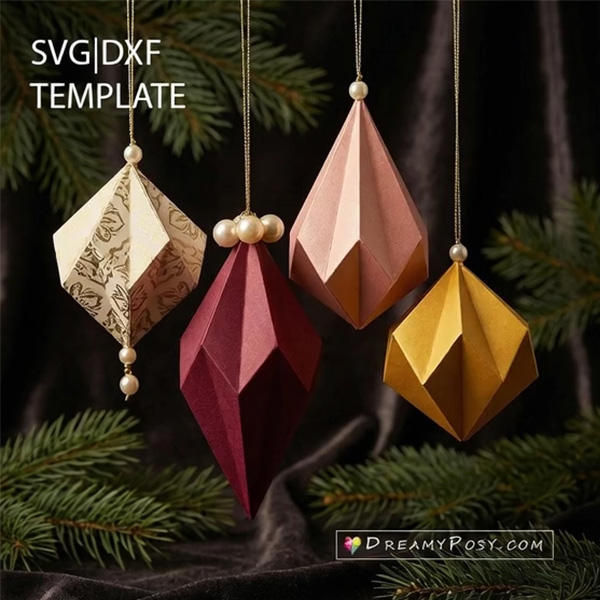
You might be interested in our newly updated 3D paper ornaments, featuring a variety of festive bauble shapes.