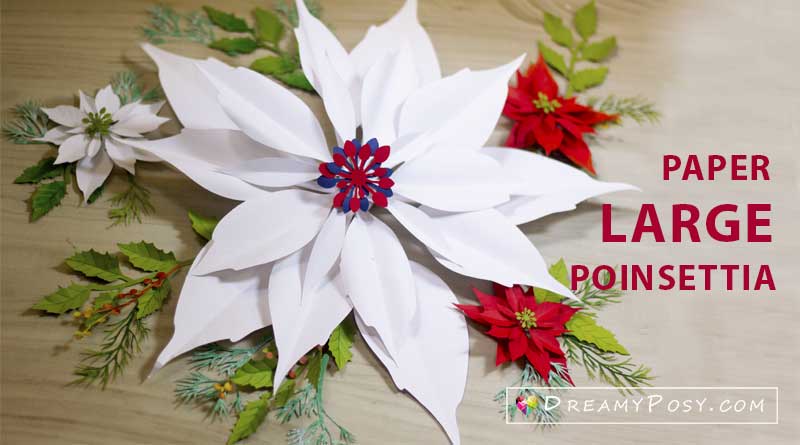
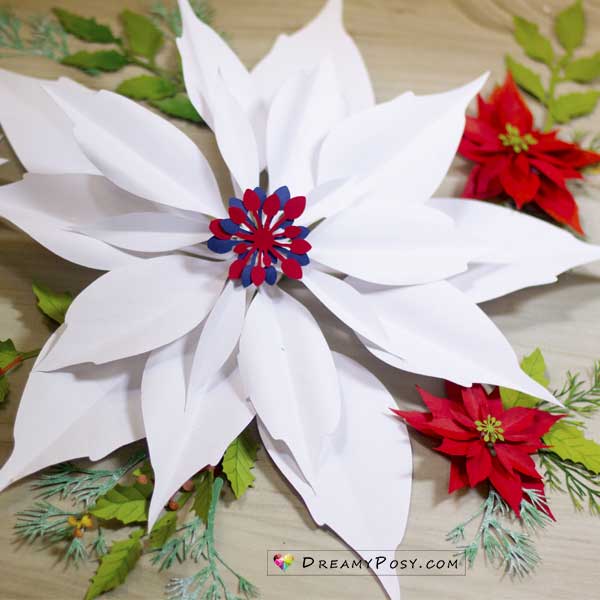
Paper Large Poinsettia tutorial and template
This paper large Poinsettia tutorial and template is requested quite many time. So I just upload a quick video instruction and share you some idea to arrange it with just paper.
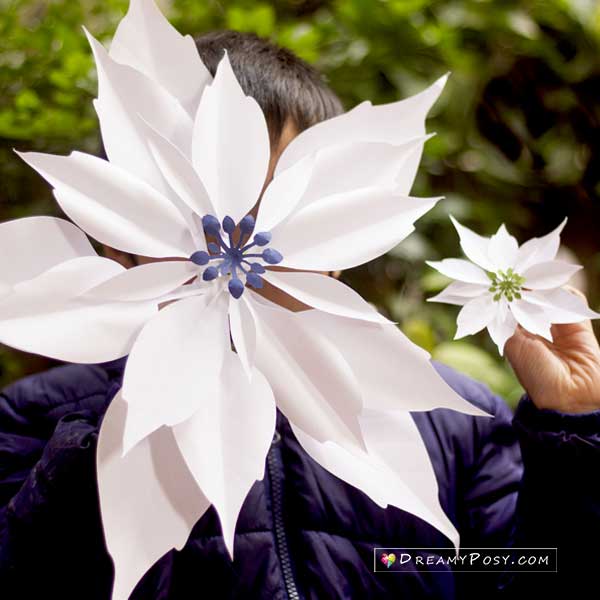
I create this large flower base on the small paper poinsettia template designed last year.
The design keeps being simple, life like, easy to make.
Let’s see my video instruction below.
I’m sorry that this video quality is too bad, as I’m getting trouble with some eyes’ problem again.
Step by step instruction to make paper large Poinsettia
Contents
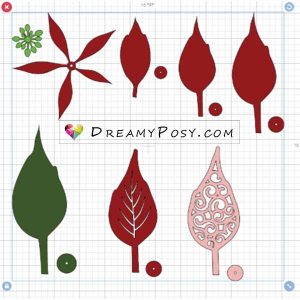
Cut the templates
Beside the top center flower, we will need 4 to 5 layers.
The petals in the first layer are connected already.
But the petals for the rest layers are separated, so that you could enlarge it as much as possible.
Score and form the petals
Use a not-too-sharp stylus to score the middle line of the petal.
Then curl the petal with a glue stick.
Glue the petals to each layer.
Each layer will need 5 petals.
So just glue the petals to the round base for each layer.
Glue and insert the layers
Insert a wire into a 3mm pvc transparent tube before gluing the center flower to its head.
Wrap the pvc tube with green floral tape.
Then insert the rest layers to the tube in the order showed in the video.
That’s all!
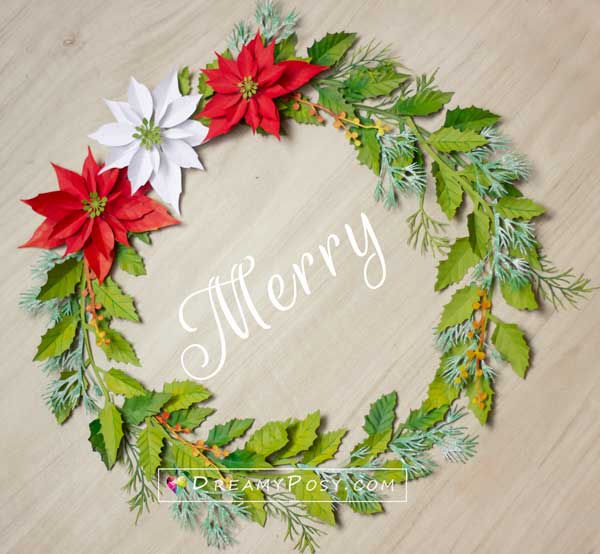
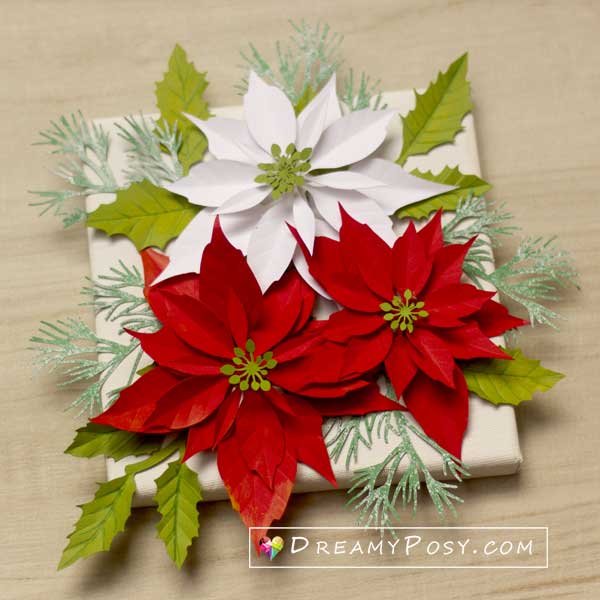
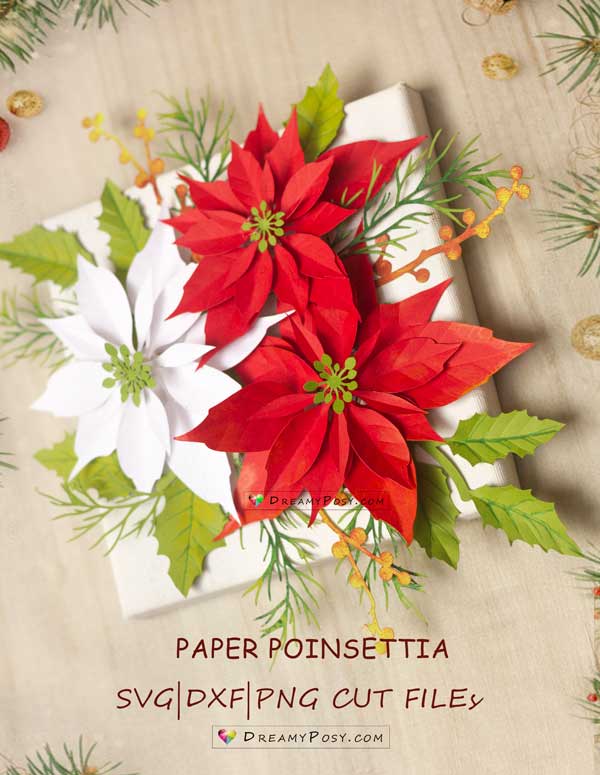
Here are some arrangement ideas with paper Poinsettia.
Materials needed to make paper large Poinsettia
- Color paper (cardstock from 120gsm to 180gssm)
- Scissors or cutting machine
- Glue gun or Sticky glue
- Scoring tool
- Floral wire
- Floral tape
- My below templates (just click on the button)