
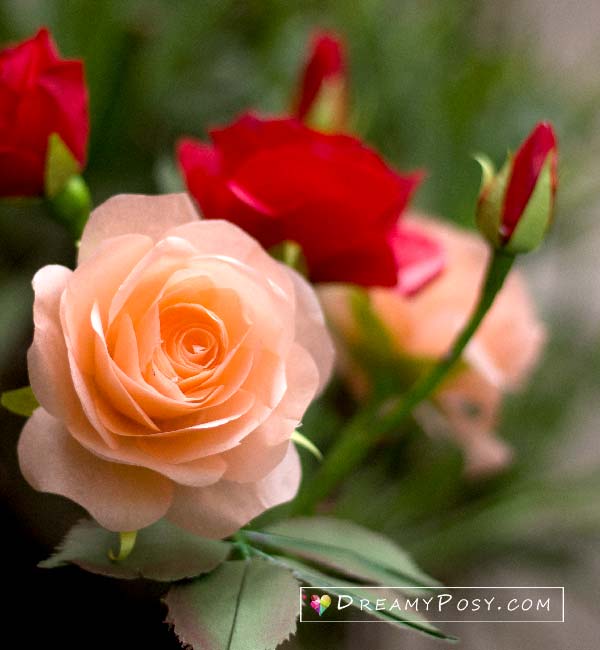
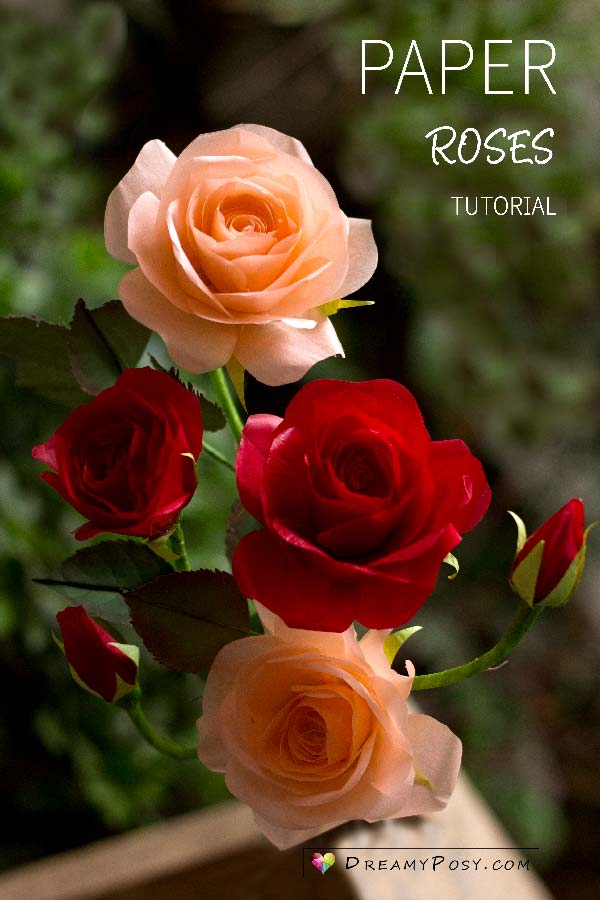
How to make tissue paper Rose, free template
This tissue paper Rose tutorial is not for a beginner, although I tried my best to simplify the method, and with free templates as usual.
Because making a paper rose seems to be the most difficult challenge, all the time.
I will try to make many easier tutorials for paper roses, from different materials and techniques, and different roses.
But this time, I tried to make as perfect paper rose as I can. Let’s enjoy.
Video tutorial to make tissue paper rose:
Contents
- 1 Video tutorial to make tissue paper rose:
- 2 Step by step instruction:
- 2.0.1 Step 1: Choose the color you want and double the tissue paper with a glue stick.
- 2.0.2 Step2: Cut the tissue paper with my templates.
- 2.0.3 Step 3: Make the core and center of the rose.
- 2.0.4 Step 4: Insert the above center into the 3-petal-layer and glue it.
- 2.0.5 Step 5: Repeat the step 4 with the small 5-petal-layer.
- 2.0.6
- 2.0.7 Step 6: Use your finger to form the separated petal as a rose petal and glue them accordingly.
- 2.0.8 Step 7: Glue the two large 5-petal-layers accordingly.
- 2.0.9 Step 8: Glue the sepal and wrap the branch.
- 2.0.10 Step 9: Make the paper rose leaves.
- 2.0.11 Step 10: Make the rose thorn
- 2.0.12 Step 11: Make the rosebud.
- 3 Materials needed to make:
Step by step instruction:
Here is the tissue paper I bought:
Step 1: Choose the color you want and double the tissue paper with a glue stick.
One side of the tissue paper is glossy and the other is not. I prefer to work with the non-glossy side.
But it depends on you.
Step2: Cut the tissue paper with my templates.
You will find the following in the pdf file:
- a small strip to roll for the rose center. In the video instruction, this strip was 30cm ( 12″) but I found that the rose center will be more beautiful with 60cm (24″) strip length.
- 1 layer of 3 petal template
- 1 smaller layer of 5-petal template.
- 5 separated petals for the second layer
- 2 layers of 5 petal template.
- 1 sepal
- a lot of leaves needed.
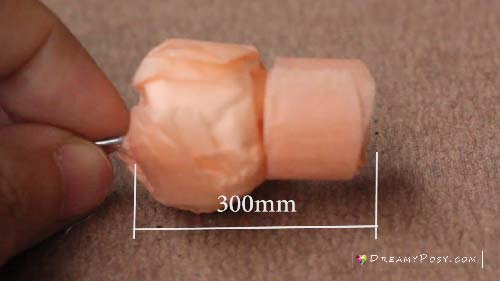
Step 3: Make the core and center of the rose.
Use the facial tissue and wrap the core of the flower over a wire gauge #20.
Cover the core with same color tissue paper.
Glue the rolled rose center on the top of the core, make sure the height is 300mm only so that the center will be the lowest point.
Step 4: Insert the above center into the 3-petal-layer and glue it.
Make sure that the tops of the petals are all closed to the center.
Step 5: Repeat the step 4 with the small 5-petal-layer.
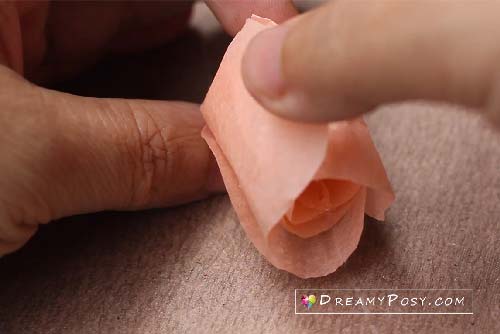
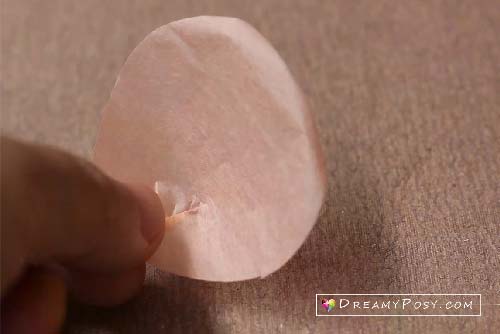
Step 6: Use your finger to form the separated petal as a rose petal and glue them accordingly.
We have to use these separated petals to form a wider bottom of this layer, that will help the rose be more real.
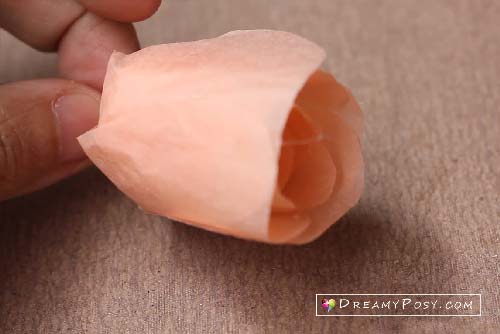
Step 7: Glue the two large 5-petal-layers accordingly.
The inner will “hug” the flower closer than the outer, so the places of glue of the first are higher than the later’s.
Remeber to use the edge of the scissors to curl every petal.

Step 8: Glue the sepal and wrap the branch.
After gluing the sepal, wrap a tissue strip to form the receptacle and wrap with floral tape.

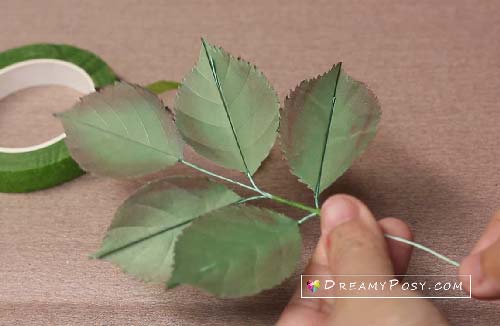
Step 9: Make the paper rose leaves.
Watch the video for detail of my fast cutting technique for these paper leaves.
Color the edge of the leaves with red color.
Glue the wire gauge#26 and insert in the middle ditch of the leave, created by your nail.
Arrange and wrap these 5 leaves together.
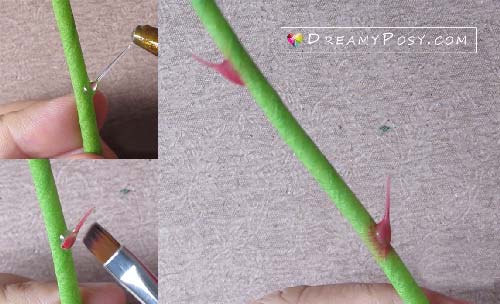
Step 10: Make the rose thorn
Use hot glue gun to form the thorn on the stem. Let’s the glue cool and fix it form before cutting it by scissors.
Color the thorn with red pastel chalk.
Step 11: Make the rosebud.
Form the bud core by wrapping the tissue strip over the wire gauge#20.
Cut 3 petals of rosebud from the template and cover over the core.
Glue the septal and wrap the stem like the rose flower.

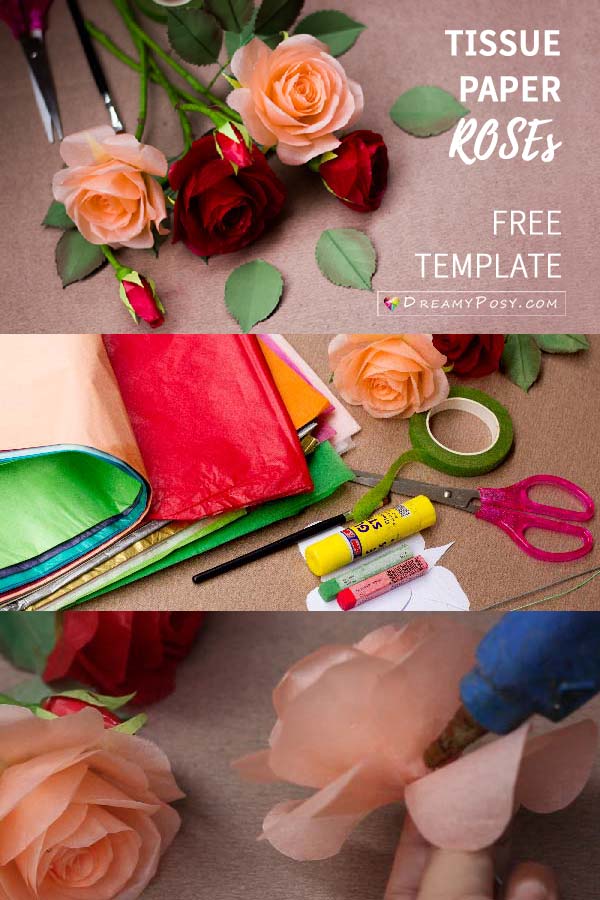
**** PIN ME ****
Want to find more Paper rose tutorials? Go click and enjoy.
Materials needed to make:
(affiliate links included)
- Tissue paper
- Wire gauge 26
- Green color paper
- Floral tape
- Glue gun
- Glue stick
- Scissors
- 3mm transparent PVC tube
- Get the Paper Rose TEMPLATE here
With lots of love,
Ann.


Thank you so much for sharing the paper rose tutorial. I hope you realize how many
people enjoy it. xx
Thank you for passing by, Monique
I was wondering if the 300 mm measure us correct for the length of the core and rose center. Do you really mean 30 mm?
Sorry, that should be 30mm. Thank you.
???☘?Your roses are very beautiful! They are the most authentic roses I have seen on the internet. Thks for sharing!
Thanks for your nice words, Marie
Beautiful roses.I will try.Thank you.
Thank you, pls share us your roses.
The link at the end of the materials list is not working. I tried 3 different internet browsers. Can you email me the PDF for the paper rose template?
I’ve just checked and the link still works fine. I don’t know how to fix your problem. Pls recheck.
Really gorgeous, very impressive. I will give it try one of these days, soon. Subscribed to your Youtube channel.
Thanks Lori. Please share your flowers with us on our fb group 🙂
Your flowers are beautiful! Thank you for freely sharing your talent.
Thank you, Shauna 🙂
I enjoy all of the stuff you do. I can’t wait to try more.
Thank you, Kathy 🙂